What Do You Want to Do with Epoxy – Build Something, Fix Something, or Make Something Creative?
Update: This chart will help you choose the right epoxy system!
All epoxies are not the same, and choosing the right one for your project can be a real challenge. Some epoxies are lower in viscosity, and some are thickened (thixotropic) for various uses. Other epoxies cure quickly, and some take days. Some have clear hardeners and others have an amber tint. To help you make sense of it all, in this blog we’ll show you lots of different epoxy applications so you can choose the right epoxy for your project.
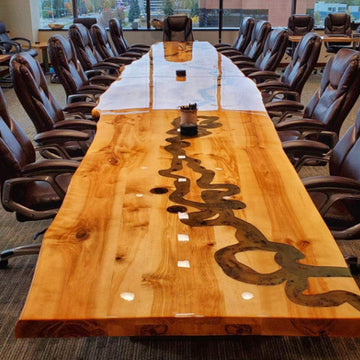
Above: TotalBoat ThickSet epoxy used in a deep pour application to create a table with an Aquidneck Island design, by Brian Bulk
What it boils down to is that different epoxies have different properties, and the epoxy system you need for your project really depends on what you want to do. To make the epoxy choice simpler, you can go down one of three paths:
- BUILD Something – like a boat, a surfboard, a kiteboard, or composite parts like hatches and hardtops
- FIX Something – like rotted wood, fiberglass damage, or leaks
- MAKE Something Creative– like a river table top, jewelry, wall art, or knife scales
Epoxy for Boat Building and Composite Fabrication
Epoxy is ideal for DIY boat building and woodworking because it’s versatile and waterproof. It’s a glue, a filler, a fairing compound, a filleting material, a bonding agent, a laminating resin, a sealer, and it’s also used to wet out fiberglass cloth and other reinforcement fabrics to make composites and composite parts.
Epoxy for Gluing and Bonding

Epoxy is great for gluing and bonding because it sticks like crazy to most surfaces, including wood, metals, concrete, stone, plastic, fiberglass, carbon fiber, Kevlar, and glass.
It also has excellent tensile, flexural and compressive strength and it’s waterproof. So it’s ideal for use in harsh marine environments and on vessel hulls and masts that are subject to a lot of different stresses coming from a lot of different directions.
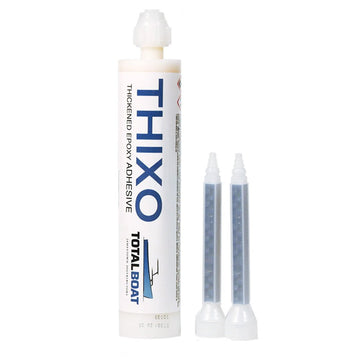
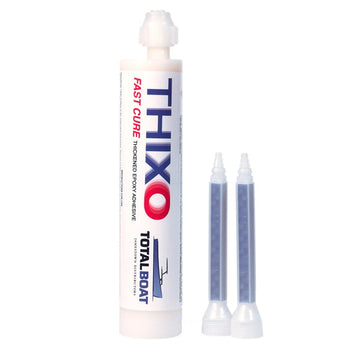
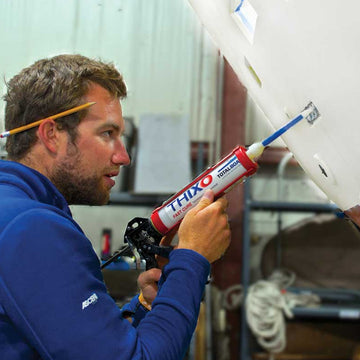
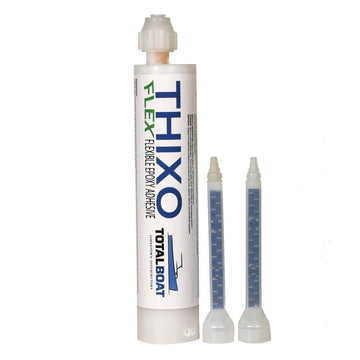
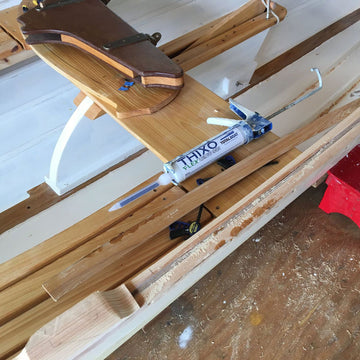
For gluing and bonding, you can use a premixed, thickened epoxy adhesive dispensed from a cartridge. There are different types – general purpose, fast curing, or flexible – so you can pick the one that works best for your application.
Or you can make your own thickened epoxy adhesive using mixed epoxy (epoxy resin and hardener combined) and adding some silica thickener for sag resistance and body.
Epoxy for Fairing

Fairing a surface means making it as smooth as possible before applying any finish coating. This way, the finish coats of paint, primer, or gelcoat will also be smooth. Fairing compounds are formulated to be smooth, easy to apply and easy to sand when cured.
You can buy a two-part epoxy fairing compound, or you can make one using a traditional or a high performance epoxy system. To make your own, mix the epoxy resin and hardener first in the exact mix ratio specified, then adding epoxy fillers such as silica thickener and microballoons. The silica thickener adds body and sag resistance; microballoons make the cured surface easy to sand.
Epoxy for Filleting
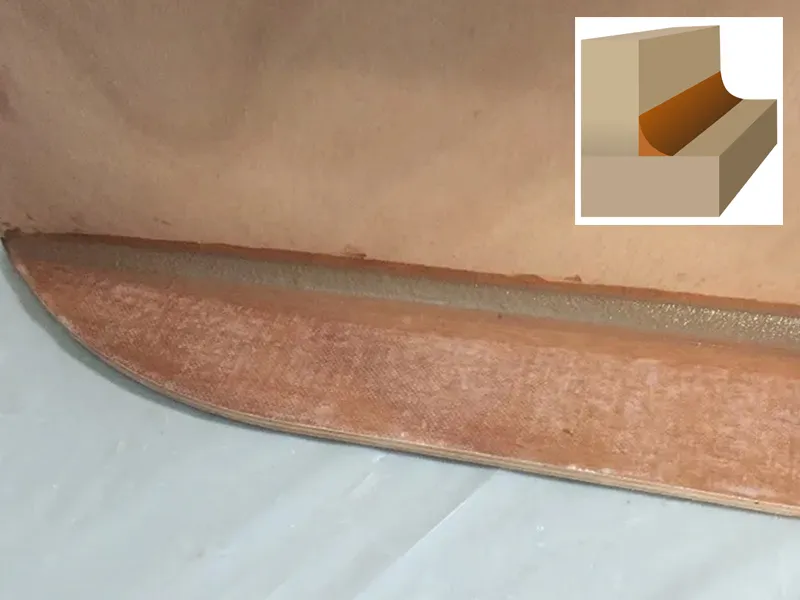
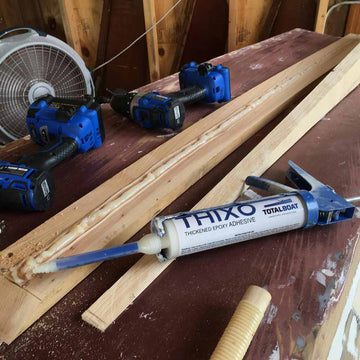
A fillet creates a strong joint where two pieces of wood are connected at an angle. To create a fillet, you lay down a bead of thickened epoxy, then smooth it with a rounded tool, removing the excess epoxy and leaving a smooth, reinforced joint. A pre-thickened wood-colored epoxy in a cartridge is the easiest way to lay down a bead and smooth it into a fillet.
Epoxy for Layups and Glassing

Wet layup or hand layup is a construction method commonly used in boat building to reinforce hulls and fabricate composite parts. It involves wetting out reinforcement fabric (e.g., fiberglass cloth) with resin, then laying the saturated fabric on a prepared surface, by hand, and allowing it to cure.
Though epoxy resin is more expensive, it’s typically preferred over vinyl ester resin or polyester resin in layups because it’s stronger, more waterproof, can be more flexible, more abrasion resistant and chemical resistant, and more durable.
Glassing refers to wetting out fiberglass or other reinforcement fabric, such as carbon fiber, in place, on a boat hull, surfboard, or other surface. Layups and glassing methods are also used to repair damaged fiberglass, wood, and gelcoat.
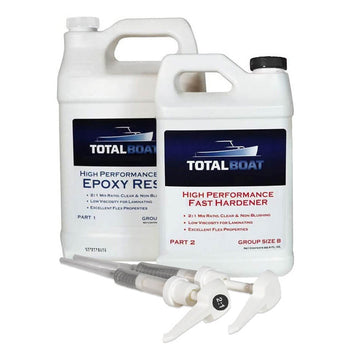
The best epoxy for glassing and layups is a traditional epoxy or high performance low-viscosity epoxy. It’s also a good idea to choose the appropriate speed hardener for the particular epoxy system you’re using so you’ll have adequate time to work with it before it kicks.
If a clear finish is important, such as on a wooden canoe or kayak, choose an epoxy that cures to a clear finished material.
Epoxy for Laminating

Above: Richard Honan used TotalBoat epoxy to make a bent wood lamination while building his 13′ Peapod sailboat
Laminating wood involves gluing several pieces of wood together to create a single part, such as the stem on a boat, that’s stronger than a single piece of wood would be.
For strong adhesion between the layers of wood, you can use mixed epoxy (epoxy and hardener combined), then add silica thickener to give the epoxy body and sag resistance.
Epoxy for Coating
For coating wood, use a clear, low-viscosity epoxy system ideal for clear coating applications such as wooden boats, canoes, kayaks and surfboards.
Epoxy for Filling Holes and Gaps
For boat building and repairs, epoxy’s superior strength makes it ideal for filling larger holes and structural gaps. But filling gaps and voids with epoxy means thickening it to a peanut butter consistency so it holds its shape. There are a couple of ways to do this.
You can either make your own thickened epoxy by blending a low-viscosity epoxy resin/hardener mixture with colloidal silica (also called silica thickener), so it can maintain its strength while bridging large gaps in structural applications. Or you can use a pre-thickened epoxy product packaged in a convenient cartridge.
Epoxy for Sealing Bare Wood

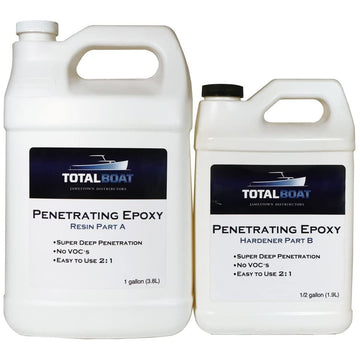
A clear penetrating epoxy sealer is ideal for sealing new wood to stabilize it, waterproof it, and provide long-lasting protection against humidity, mold, and mildew.

Above: Awesome Maple burl wooden sink waterproofed with TotalBoat Penetrating Epoxy before applying a varnish topcoat, by Carl Pittman of Blue Mountain Bowls
Epoxy for Fixing Things
If you want to fix something for good, epoxy is ideal for repairs because it’ll make the repair waterproof and permanent.
Epoxy for Repairing Gelcoat Cracks and Crazing

There are lots of ways to repair gelcoat crazing, or spider cracks. An easy fix is to drill out the cracks with a rotary tool and fill with a prethickened 2-part epoxy fairing compound. If finishing with topside paint, apply the specified primer (an epoxy primer is ideal) over the cured epoxy fairing compound, then apply paint. If finishing with gelcoat, apply an epoxy primer over the cured epoxy fairing compound, then apply gelcoat.
Epoxy for Repairing Rotted Wood and Reshaping Missing Wood Parts
To repair wood that’s been softened by rot, you need an epoxy that penetrates the wood deeply. A clear penetrating epoxy hardens, strengthens, seals, and stabilizes the wood to prevent more rot.
To restore damaged or missing wood that’s difficult or impossible to replace, use a wood repair epoxy putty that can be easily shaped in place. Once cured, you can sand and paint it.
Epoxy for Fiberglass Repair
Gouges, dings and dents can put a dent in your day, but it’s not hard to fix them yourself.
To repair fiberglass and gelcoat, you need a low-viscosity epoxy such as a traditional 5:1 system or a 2:1 epoxy system, silica thickener to thicken the epoxy, if needed, and fiberglass cloth for repair patches.

Note that epoxy systems have hardeners with different speeds, such as fast, medium, and slow. For fiberglass repairs, be sure to use the slow speed hardener to give yourself extra working time for this type of project.
Epoxy for Repairing Leaky Rivets and Seams on an Aluminum Boat

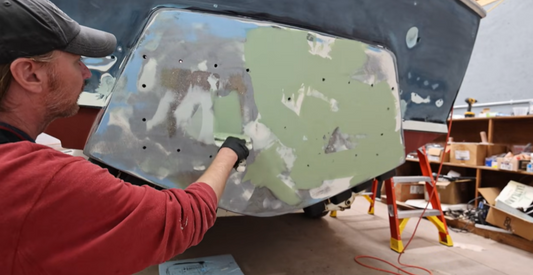
Even normal wear and tear can eventually cause the seams and rivets on an aluminum boat to leak. A quick, easy fix for sealing these leaks is to use an epoxy leak sealer that comes in a handy cartridge. When the resin cures, it’ll flex to prevent recurring leaks. Just be sure to follow directions on preparing the aluminum surface properly before applying the epoxy sealer.
Epoxy for Emergency Underwater Repairs
In a boating emergency where you’re taking on water faster than your bilge can pump it out, it’s important to stay calm and act quickly to slow and stop the rising water – especially if you’re offshore and unable to haul out. For this application, use a two-part underwater epoxy repair putty that can be mixed, applied, and cured under water. It’ll fill and seal leaks in wood, fiberglass, steel, and aluminum hulls.
Epoxy for Making Creative Things
From decorative coatings, to shallow pours to deep casting applications, there’s an epoxy product to help make your creative vision a reality.
Epoxy for River Tables, Live Edge Wood Slab Pours, Encapsulations, Art and Deep Casting and Molding Applications

Above: Putting the finishing touch on a gorgeous river table, by @designsbydonnie
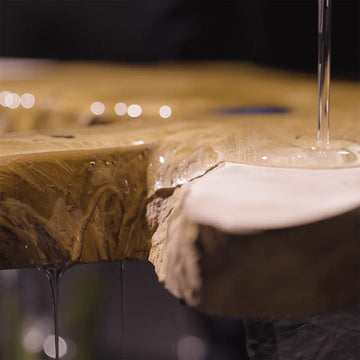
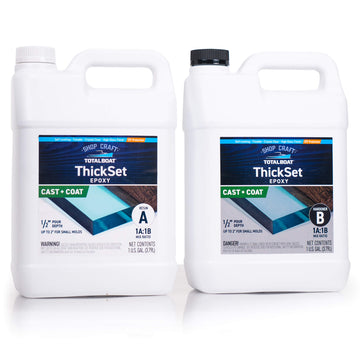
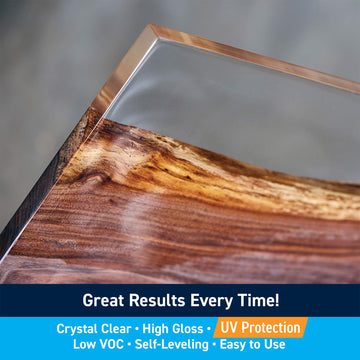
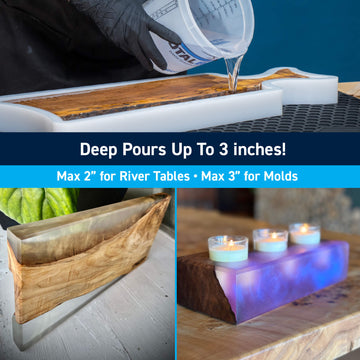
Deep pour epoxy systems are great for river tables and deep casting applications because they allow you to pour the epoxy much deeper per single layer than epoxies designed for composite fabrication and laminating.

Above: Pouring a deep epoxy river, by Caleb Harris of @youcanmakethistoo
It’s important to understand that different deep pour epoxies have different application and curing temperatures, mix ratios, pour depths, working times and cure times. There are also trade-offs to using them, so be sure you understand the working properties and choose the deep pour epoxy system that lets you pour single layers to the desired depth.
Epoxy for Filling Cracks, Voids and Knots in Wood Slabs
Live edge wood slabs used in river pours can have imperfections such as knots, cracks and small holes that need to be filled or sealed so they can’t form ugly air bubbles that’ll ruin an otherwise perfect river table.
To fill knot holes and small cracks & voids in wood, use a clear, low-viscosity epoxy system. This epoxy can be tinted so the knots and voids match the color of the epoxy river.
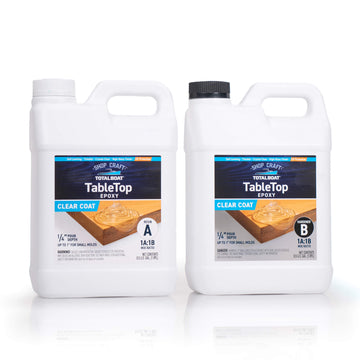
Depending on your application, the epoxy you use for pouring can also be used for sealing. Suitable low-viscosity epoxy systems include low-viscosity 2:1 epoxy, tabletop-type epoxy, or clear penetrating epoxy. IMPORTANT: Do not use a deep pour epoxy to seal knots and voids because it will take too long to cure.
If you’re not sure where to start, here’s a convenient epoxy river table kit with everything you need to create a beautiful river table.
Epoxy for Clear Table Tops, Counter Tops, and Bar Tops

Above: Spectacular bar top coated with TotalBoat TableTop Epoxy, by John Deslauriers
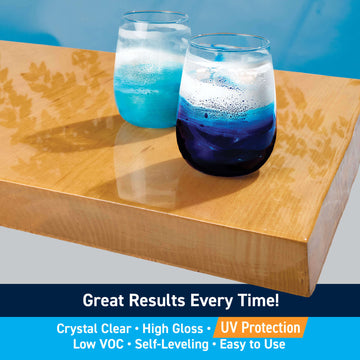
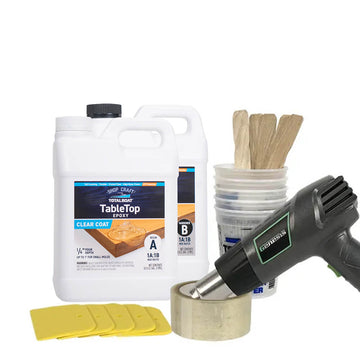
For a shiny, crystal-clear coating that’ll turn heads, use a tabletop-type epoxy system. This is an easy DIY project that has spectacular results. Get creative and embed objects in the epoxy such as coins or bottlecaps. Just be sure to glue them to the surface first so they don’t float, and seal them with a thin coat of epoxy to prevent air bubbles, before pouring the final flood coat. If you’re looking for a tabletop kit that contains instructions and everything you need, check out our all-in-one project kits.
Epoxy for Faux Marble Counter Tops

Above: Marble-effect rolling cart counter top and shelf, by Lana Gonzalez of glacierbuilt.com
Like the look of real marble, but not the weight or expense? Make a fake marble counter top that looks just like the real thing! Besides a counter top, all you need is a clear tabletop epoxy system, black or white pigment dispersion (depending on the base color you want), mica powders for the marbling and veins, and a little time and effort on your part.
To make this project even easier, there are convenient kits, with step-by-step instructions, for creating your own faux white marble or faux black marble counter top or table top.
Epoxy for Jewelry Making

Above: Delicate encapsulated flower pendant made with TotalBoat MakerPoxy, by affinityfloralarts
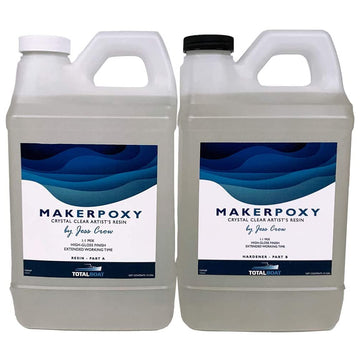
Making your own resin jewelry is a fun, easy way to get started with DIY resin crafts. An artist’s epoxy resin is preferred for creating epoxy jewelry because it’s super clear, non-yellowing and durable. You can embed things in it and add epoxy-safe pigments and colorants to make your creations truly unique and dazzling. If you’re not sure where to start, try a project-ready epoxy jewelry kit that contains everything you need!
Epoxy for Coasters

Above: Unique epoxy coaster made with TotalBoat High Performance Epoxy and alcohol ink pigments, by Alexandra Edwards
For making your own one-of-a-kind coasters, use an epoxy that’s clear and easy to tint – either an art resin or a clear high performance epoxy resin with a slow hardener so you’ll have enough working time to add colorants. To make it easy, start with an epoxy coasters kit that includes resin, hardener, silicone molds, epoxy-safe pigments, and mixing tools.
Epoxy for Geode Art and Decorative Items

Above: Exquisite epoxy geode coasters and chargers, by @art.by.pavi
It’s no secret that geodes take thousands of years to form naturally. But who has time to wait? Make your own beautiful epoxy geode in a day or so with a clear, low-viscosity epoxy, a geode silicone mold, clear and colored crystals, and a little mica powder. Who says you can’t fool mother nature?!
Epoxy for Ocean Wave Effect Table Tops, Serving Boards and Wall Art
An ocean vibe is relaxing whether it’s on a piece of wall art, a charcuterie board, or a table top.

Above: Unique epoxy ocean wave coffee table made with TotalBoat TableTop Epoxy, by @ej.artistry
To create your own ocean wave effect with epoxy and pigments, use a bpa-free epoxy for decorative coating or a tabletop epoxy system. If you’re an epoxy beginner, here’s an easy, convenient epoxy ocean serving board kit that contains instructions and everything you need to make your own.
Epoxy For Turning Blanks

Above: Hybrid wood/resin pen blank and exquisite finished pen made with TotalBoat High Performance Epoxy, by SP Wood Art
Woodturners use resin turning blanks and hybrid resin and wood turning blanks to create custom pens, bowls, knife scales, tool handles, and more.
The epoxy to use for turning blanks should be strong and able to resist breaking or cracking when turned on a lathe. A dynamic epoxy system is ideal because it is crystal clear, can be tinted with a variety of epoxy-safe pigments, and is not as rigid as a traditional epoxy system, once cured. You could also use a deep pour epoxy system to cast turning blanks.
Helpful Resources: Epoxy Calculator, Epoxy Pour Depths, and How To Use Epoxy Fillers
Now that you have an idea of the types of projects and which epoxy to use, take a look at the handy reference below that lists which epoxy (or epoxies) are suitable for a particular project.
If you need to estimate how much epoxy you’ll need, check out our epoxy calculator. Click here to see the epoxy pour depths per layer for different TotalBoat resin systems. And this article explains the different types of epoxy fillers and how to use them.
Which TotalBoat Epoxy to Use – By Project Type
Whether you’re building something, fixing something, or making something creative, we can’t wait to see how your epoxy projects are coming along, so please tag us on Instagram and Facebook using @totalboat, #totalboat and #totalboatepoxy!
If you have any questions about which epoxy to use for your project, please call our Tech Support Team at (800) 497-0010.
















3 comments
I would like to make wooden barn quilts out of a variety of exotic woods. Some woods would be painted. I was wondering if I want to top coat the finished product with a coating that would stand up to the weather – sun, hot & cold, rain, etc. what epoxy would be the best? Is there a combination of products you would recommend ?
Which epoxy do you recommend for outdoor countertops and bar tops?
GREAT article! How can I get this in PDF format to keep in my shop?