


When you're deep in a boat refit, sometimes the most satisfying progress comes from the basics, having a solid place to stand. In the latest video from Sail Life, Mads takes a break from waiting on engine parts to tackle a few crucial interior upgrades aboard their 44-foot hurricane-damaged DIY catamaran project. This week, it’s all about getting functional floors in place, painting the engine compartments, and crafting some removable battery shelves.
From Plywood Problems to Functional Floors
Before any serious work can happen, the boat needs a stable walking surface. Mads set out to install floors (or "sole") in both hulls and the saloon, but the journey started with a frustrating lesson in plywood quality. Despite sourcing "marine-grade" plywood from a lumber yard, what arrived was riddled with voids, imperfections, and a price tag that didn't match the quality.
Even with the plywood debacle, he pressed on, carefully cutting and fitting each piece to create a floor that, while temporary, could eventually be reused for the final interior build. Some measuring mix-ups led to pieces being cut for the wrong side, but in the end, the floors fit snugly enough to be a major step forward.
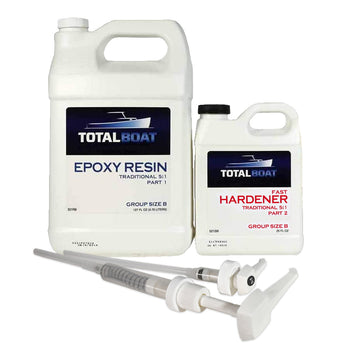
To protect the plywood from the inevitable messes of the refit, Mads applied a single coat of TotalBoat High Performance Epoxy, ensuring a hard-wearing surface that could withstand spills, dirt, and grime.
Pro tip from Mads: If you want to fully seal plywood against moisture, one coat of epoxy isn’t enough, you’ll need multiple layers for proper film thickness.

Engine Compartments Get a Fresh Coat of TotalBoat Paint
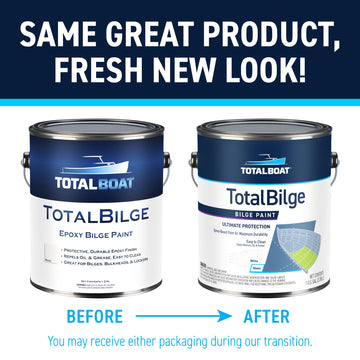
With the floors in, the next big task was painting the engine compartments. Mads turned to TotalBoat TotalBilge, a one-part epoxy-based paint designed for hard-wearing, solvent-resistant protection. He noted that while he doesn't yet have long-term experience with the product, several of his patrons have used it with great results, and he's optimistic about its durability.

"A surface that doesn’t get colored by solvents or oils? Sounds good to me!"
After learning the hard way about the importance of thin coats and following the over-coating intervals, Mads applied the first layer, setting the stage for the engines to be installed soon.
Crafting Removable Battery Shelves (Despite That Plywood)
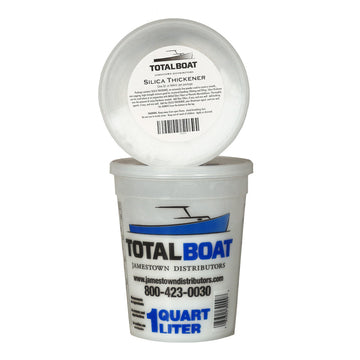
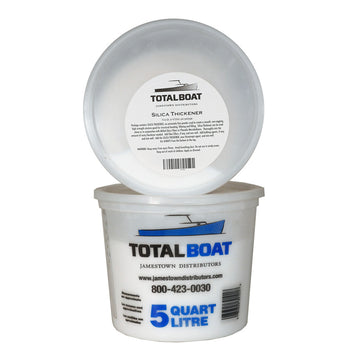
The final project of the week was building new battery shelves for the engine starter batteries. Since the old shelf had been removed to access the diesel tank, Mads wanted a design that could be installed (and later removed) without tearing apart the boat. Using what was left of his less-than-stellar plywood, he cut, fitted, and reinforced the shelves with thickened epoxy (High Performance mixed with Silica Thickener) and stainless steel fasteners for extra strength.
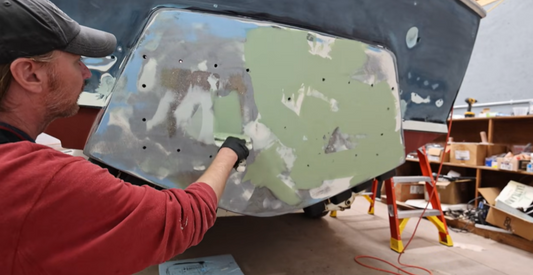
However, just when he thought he’d seen the worst of the plywood’s defects, he uncovered a giant hidden cavity beneath the outer veneer, a shocking example of how poor the material truly was.
Rather than scrap the shelf entirely, he patched the defect with polyester putty before applying multiple coats of TotalBoat TotalBilge, ensuring a tough and protective finish.
Mads also came up with a clever plan to make the shelves removable, using T-nuts embedded into a plywood mounting plate that would be secured to the hull. While he still needs to figure out the best way to strap the batteries down, he's confident in the setup and even put out a call for suggestions in the comments.

A Tidy Boat and a Sneak Peek at What’s Next
With the floors installed, the engine compartments painted, and the battery shelves built, Mads took a step back to admire the progress. The boat—while still a work in progress—has never been so tidy.
Next up? He was originally planning to install a windlass, but sourcing the right wiring turned out to be more of a challenge than expected. And, in classic Sail Life fashion, Mads hints at a nasty surprise coming next week, so stay tuned!
In the meantime, if you're working on your own boat refit, TotalBoat TotalBilge and epoxy are proving to be key players in Mads' restoration. Whether you're protecting plywood floors or painting critical compartments, they’re worth checking out for your next project.
🚀 Follow along with Mads and Ava on their DIY sailing adventure over on YouTube at Sail Life!
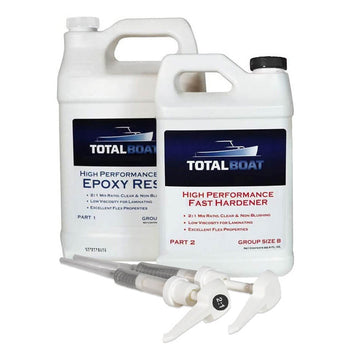

Clear High Performance Epoxy Kits


3 comments
https://www.amazon.com/Battery-Aluminum-Compatible-Optima-Yellow/dp/B0BFJ1WTRQ/ref=sr_1_2_sspa?crid=3THBBV8G0UTHH&dib=eyJ2IjoiMSJ9.FH9Onh5BSJH9Xc_qZ50gMwTj27hGw4xI9kl7ZCDFRnYpVI3xlun2HfqRI0g8CTWQQw_orOw3eXXMWzNKoy_3Q4BMB4PpWUl35ZhlmpJAkBbz9JBQK7mkizEDkMYAWVcjIjh6nIjTmM5xjnhf5vWTuc1cXbpa0LqUAk5q7k_UBr1xuRDpOEU9EixADhVM934lS62eQo9fpEUbj5Fz8C2WrkKcpLiAlZ7C9Uuhr5RCKTE.pHX00DNhjUnZhzWDLHVyCguhhwqbxnxMqQSSB1nAppc&dib_tag=se&keywords=optima+battery+hold+down&qid=1741967107&sprefix=optma+battery+hold+down%2Caps%2C93&sr=8-2-spons&sp_csd=d2lkZ2V0TmFtZT1zcF9hdGY&psc=1
I’m a captain and a shipwright and, yes, you did get ripped off. Never buy wood from some of these metropolitan " lumber yards " because you’ll always get the kind of crap your video illustrates. You must go to a specialty yard like M.L Condon in White Plains, NY and physically pick out the wood you need. Your video shows what an amateur at Home Depot would settle for – and that won’t cut it for a marine application.
Try HDO (High-density overlay) plywood, it is hard to find but I think it is better than marine-grade" plywood.