


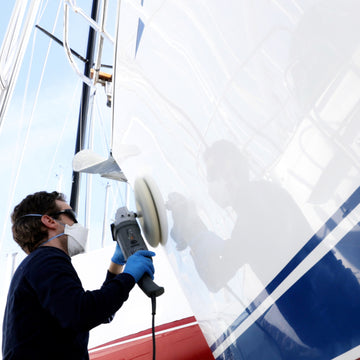


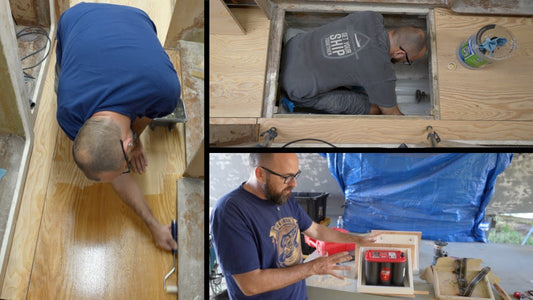
In the latest Boatworks Today episode, Andy Miller brings us into the dusty, repetitive, and oddly satisfying world of fairing—this time focusing on the transom of his Bertram 25. After over a year out of commission, Andy’s back to work on Brutus, and he’s diving headfirst into one of the most time-consuming—but absolutely necessary—parts of any serious refit.
If you’re fairing a boat this season (or just curious how the pros do it), this is one video you don’t want to miss.
Fairing: It’s a Process (Really, a Whole Process)
Fairing isn’t glamorous. It’s not quick. And according to Andy, it’s the point in a project where “progress tends to come to a screeching halt.” But it’s also what separates a good paint job from a flawless one. And the better your process, the easier it gets.
Andy walks us through the workflow he’s refined over the years—step by step—and shares tips to save both time and your shoulders.
Step One: Create Contrast
Before sanding even begins, Andy rolls on a coat of 2-part epoxy primer to create a uniform surface. This step helps in two big ways:
-
It reveals imperfections like pinholes that were invisible on bare glass.
-
It provides contrast so you can easily identify high and low spots once you start sanding.
As he puts it, “any area of the surface that’s been sanded is going to have a different appearance.” That visual difference becomes your guide.
Step Two: Rough Fairing – Let the Longboard Do the Work
Fairing starts with knocking down the highs—and Andy uses a powered longboard from Flexisander to take care of the rough work. He describes this as the rough fairing phase: the beginning stage where you're just trying to level out the major waves.
A key takeaway here is how Andy interprets the results:
-
Bare fiberglass = high spot
-
Gray primer still visible = low spot
That visual map tells him exactly where more fairing compound is needed.
He also shows off his custom longboard setup for the next phase—an old-school DIY sanding board made from a ¼" plywood strip with a couple of handles epoxied on. It’s light, it’s cheap, and as Andy says, “it works great.”

Step Three: Fine Fairing – It’s All in the Technique
Once the rough fairing is done, Andy switches to fine fairing—using a much longer sanding board to really dial in flatness. His goal? Dead flat planes across the transom that will support the boat’s Armstrong bracket with precision.
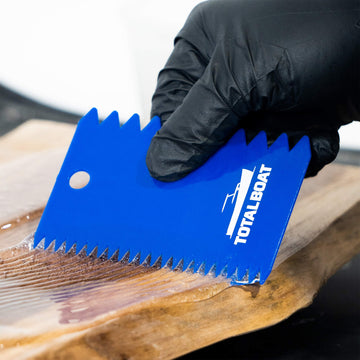
But here’s where the experience really shows. Andy shares a subtle (but huge) tip for spreading fairing compound:
“When I’m spreading this, I don’t want to run my spatula across the dip. It just follows the contour. Instead, I run it lengthwise, so the edges rest on the high points and naturally fill in the low.”
He also cautions not to over-sand during this stage. You’ll just create more work. Let the tools—and gravity—do their thing.
Spot Filling with TotalBoat TotalFair
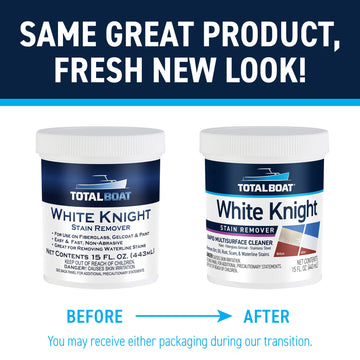
Once the transom is close to fair, it’s time to deal with the inevitable pinholes. And for that, Andy reaches for TotalBoat TotalFair.
Even though he’s working over a 2-part primer, Andy feels confident using TotalFair for small fills—and it performs like a champ. He mixes a tiny batch, scrapes it across the pitted areas, and presses it into place from multiple angles for best adhesion.
This step doesn’t require any build—just a skim coat to seal those tiny surface flaws before priming again. After curing overnight, a light sanding with 120-grit evens everything out.
“I’m not looking to get any build whatsoever. All I want to do is strictly fill the pinholes.”
One Last Check… and More Sanding
Before calling it good, Andy gives the transom one final test: swiping his longboard across the surface from multiple directions. By looking at the scratch patterns, he can tell if any areas are still too high or too low.
-
Consistent scratches across the board? Good to go.
-
Gaps or missing scratches? Might need a little more fairing.
He even checks the dry fit of the bracket to confirm tolerances before sealing it all up.
Wrapping Up the Fairing Stage
At this point, Andy’s ready to roll on three more coats of primer—one per day—without sanding between coats, thanks to that 24-hour window. Once cured, he’ll sand with 320-grit and shift to painting.
But make no mistake: getting to this point is a grind—literally and figuratively.
Fairing is often the least glamorous part of boatwork, but it makes all the difference. Andy’s approach is methodical, repeatable, and—thanks to products like TotalBoat TotalFair—efficient.
TotalFair: The Right Tool for the Right Moment
Whether you’re doing a major refit or just knocking out a weekend project, TotalBoat TotalFair is an easy-to-use, sandable, two-part epoxy fairing compound made for all the little in-between moments—like fixing pinholes or smoothing transitions between layers.
You can learn more about it here and see it in action in Andy’s full video on the Boatworks Today YouTube channel.
Happy fairing, and may your shoulders survive the process.
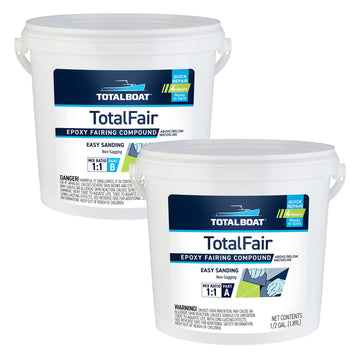
TotalFair Epoxy Fairing Compound
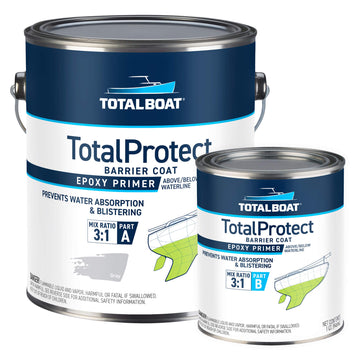

TotalProtect Epoxy Barrier Coat Primer


White Cotton Cleaning & Wiping Rags


1 comment
Nice work