


This week we’re traveling to Traverse City, Michigan, where a dedicated sailor is bringing new life to a 1963 Pearson Triton sailboat. Jason of Trailguide Pictures has been working tirelessly on his sailboat for five weeks. In the featured video, he documents the colossal progress made during that time.
Rudder Repair: Strengthening the Foundation
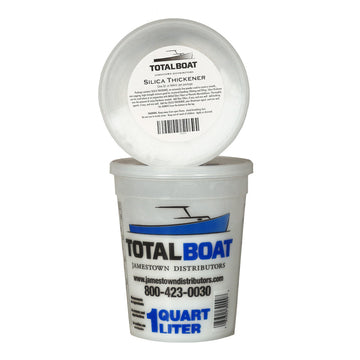
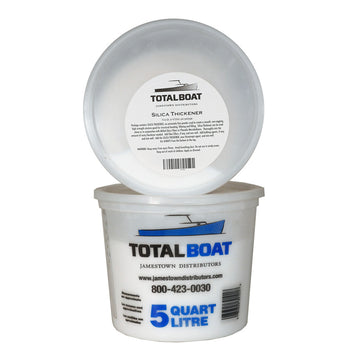
One of the key features of the Pearson Triton is its keel-hung rudder. However, the original wooden rudder showed signs of wear, with laminations starting to separate. To address this, Jason used High Performance Fast mixed with Silica Thickener to fill the gaps. The thickened epoxy, with a consistency similar to toothpaste, was applied meticulously to ensure a strong bond. After setting overnight, the rudder was sanded smooth, ready for the next stage.


Applying TotalProtect: Barrier and Primer
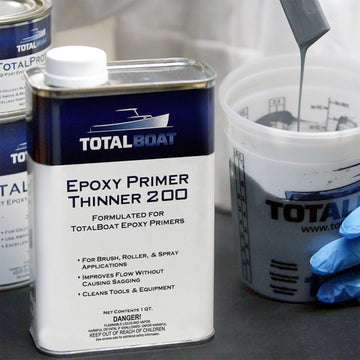
Following the epoxy repair, the rudder received a protective coat of TotalProtect, an epoxy primer and barrier coat. Mixed at a 3:1 ratio and applied in thin layers, this coating provides a durable barrier against water intrusion, essential for long-term durability below the waterline. After a week of curing, the rudder was painted with a compatible bottom coat, ensuring it was well-protected and visually appealing.


Deck Repairs and Ice Box Removal
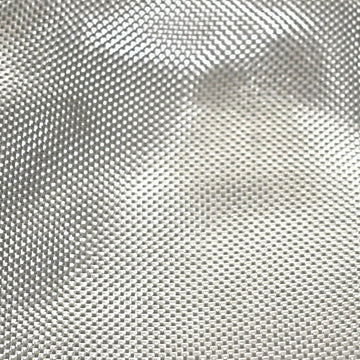
On deck, the outdated ice box was removed to streamline the cockpit. The space was filled with a custom-cut piece of plywood, which was then fiberglassed into place using High Performance Fast Hardener Epoxy and 10 oz fiberglass cloth. This process was repeated for other areas of the deck that required reinforcement, ensuring a strong and uniform surface.

Preparing and Installing Bulkheads
The refit also included the installation of new bulkheads in the rear lazarette, converting it into an engine well. After cutting and fitting the plywood bulkheads, they were laminated with fiberglass and epoxy for added strength.


Fairing the Deck: Smoothing the Surface
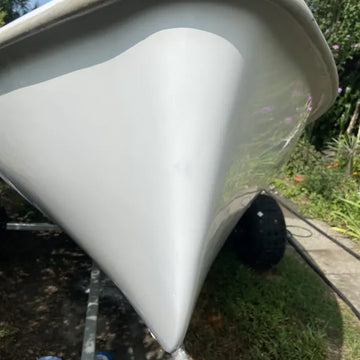
With structural repairs complete, the focus shifted to fairing the deck using TotalFair. This two-part epoxy fairing compound was mixed to a consistent green color and applied to all uneven surfaces. After curing, the compound was sanded smooth, creating a uniform deck ready for painting.


Priming and Gelcoating: Final Touches
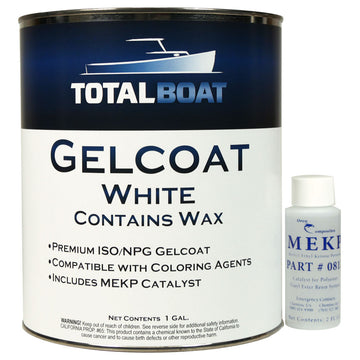
To finish the deck, TotalProtect was again used as a primer, followed by several coats of TotalBoat Gelcoat. The gelcoat was applied in multiple layers, starting with coats without wax and finishing with a waxed coat to ensure a durable and glossy finish. Sanding between coats helped achieve a smooth, professional-grade surface.


Reinstalling Hardware and Final Setup
The final stages involved reinstalling all deck hardware and setting up the new Tohatsu 6HP outboard engine. The engine installation was a meticulous process, involving careful alignment and securing with epoxy and fiberglass. After some initial challenges, the engine was successfully set up, ready for the upcoming launch.

Thank you Jason of Trailguide Pictures for taking TotalBoat along your refit journey! From epoxy repairs and fairing compounds to primers and gelcoats, each product played a crucial role in revitalizing this classic sailboat. As the boat prepares for launch, it stands as a testament to the craftsmanship and dedication required for such a comprehensive restoration project.
Watch the full video by Trailguide Pictures for an in-depth look at the progress and techniques used in this remarkable refit!

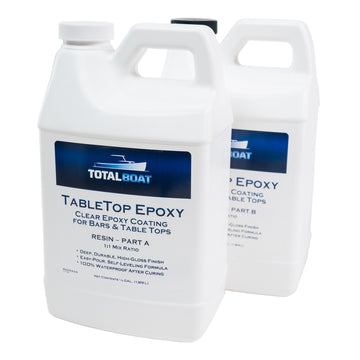
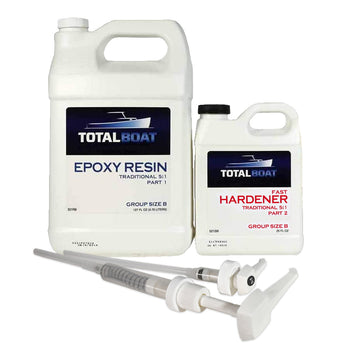
Clear High Performance Epoxy Kits
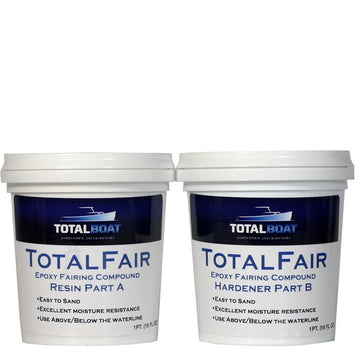

TotalFair Epoxy Fairing Compound
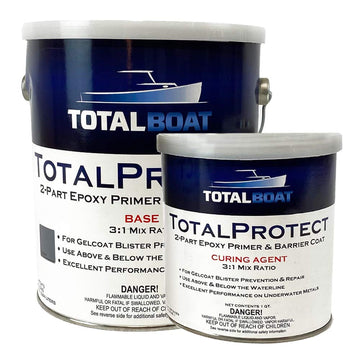

TotalProtect Epoxy Barrier Coat Primer


1 comment
Jason,
Good information! Hope your return trip went smoothly and you’re enjoying the boat!
Guy
T.C. Mi.