


Ava and Mads of Sail Life are back with another exciting update on their Antares 44 DIY catamaran refit! This week, Mads dives into vacuum infusion—a technique he’s eager to master for future projects like creating a new hardtop. But as always, boat work isn’t without its challenges, from cold weather to delayed shipping.
Starting with the Basics
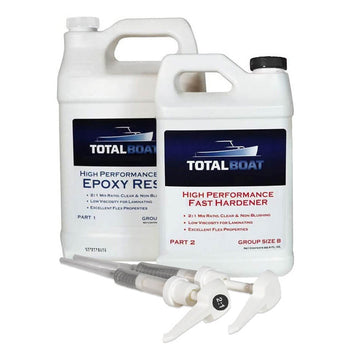
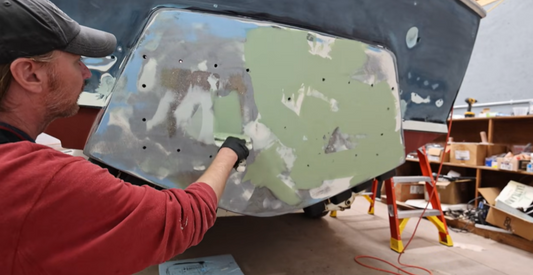
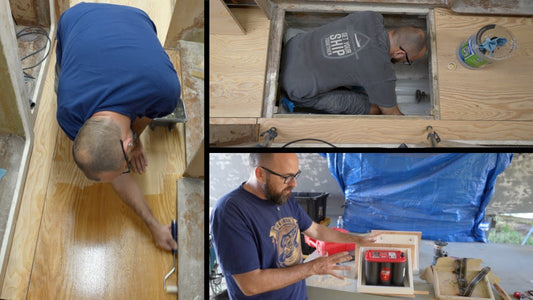
Mads began by tackling the molds for the catamaran’s tram ramp hatches. Using MDF molds created with the help of generous viewers and a CNC machine, he prepped them with TotalBoat High Performance Epoxy to create a smooth, durable surface. A little trick he shared? Warming the epoxy for easier application. While Mads didn’t have his Denmark-era epoxy heating box, he improvised with the Florida sun and a black bag to get the job done.
“The epoxy made the fibers in the MDF rise up,” Mads explained, “but with a little sanding and patience, I got a nice, smooth finish ready for waxing.”

Testing Vacuum Infusion
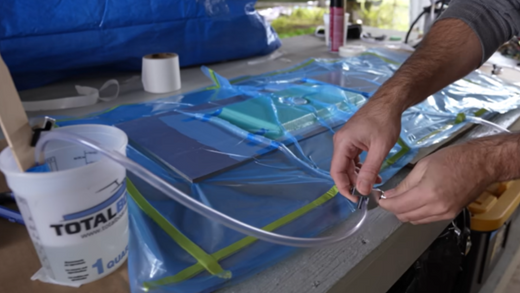
Before diving into the actual hatches, Mads decided to run a test. The goal? To see if High Performance Epoxy could be used for vacuum infusion—a process typically reserved for specialized low-viscosity resin. After coating the test mold with wax and PVA mold release, he carefully assembled layers of fiberglass, core material, and vacuum film, securing it all with vacuum tape.
The process wasn’t without hurdles. Mads battled leaks in the vacuum bag, but with perseverance—and a trip to the fiberglass supply shop—he managed to rebag and achieve a solid vacuum seal. “This process is all about patience and problem-solving,” Mads said, “and I’m learning a lot for when it’s time to infuse the actual hatches.”

The Verdict on TotalBoat High Performance Epoxy
Mads successfully infused the test piece using High Performance Epoxy. While it’s not a traditional infusion resin, its low viscosity when warmed made it viable. The test revealed some minor dry spots due to resin flow and cold temperatures, but overall, the results were promising.
“If you’ve got TotalBoat High Performance Epoxy lying around and want to experiment with infusion, I say give it a shot,” Mads encouraged. “It’s a great way to learn and expand your skill set.”

What’s Next for the Catamaran?
While waiting on delayed core materials for the hatches, Mads made progress on other projects, like organizing the tool trailer and practicing TIG welding. He also shared exciting plans for future hatches—one standard fiberglass and one featuring advanced materials like carbon and Kevlar.
“I’m excited to see how the fancy hatch turns out,” Mads said. “There’s always room to experiment and improve.”
TotalBoat Products in Action
Throughout this week’s adventures, TotalBoat High Performance Epoxy proved itself as a versatile and reliable choice for mold preparation and resin infusion experiments. Whether you’re working on a small DIY project or a full-scale refit, TotalBoat products are here to help you get the job done!
Be sure to subscribe to Sail Life for more updates from Ava and Mads as they continue their journey to transform their hurricane-damaged Antares 44 into the catamaran of their dreams. You can also find them on Instagram!

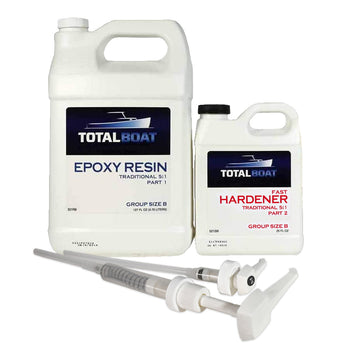
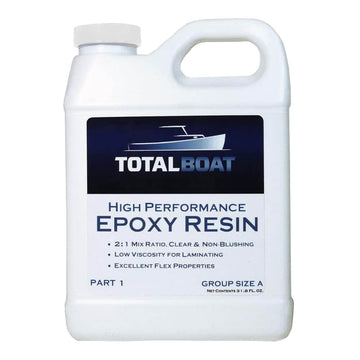
Clear High Performance Epoxy Kits
Plastic Paint Pails and Epoxy Mixing Cups


3 comments
Sorry, didn’t see that someone had posted an almost identical comment. Please delete.
If temps are cold and the sun isn’t enough to warm your epoxy, water is a great way. Here the air is so dry that any open container rapidly loses heat to evaporative cooling, but putting the hot water (with the epoxy bottles sitting in it) into a cooler and then closing it ensures all that heat transfers straight to the epoxy.
Enjoyed this vacuum bag video. Rather than putting a heater in a confined space maybe you could put hot water in a gallon jug in the cooler. Your car in the sun with closed windows would be a heater. Look forward to seeing more when the second delivery arrives !