In this week’s featured video, we’re highlighting a tutorial by Andy Miller of Boatworks Today where he covers the steps to safely and effectively seal an unwanted thru-hull below the waterline—a critical repair for improving boat safety.
Removing the Unused thru-hull
It is necessary to remove the unused thru-hull due to potential liabilities. If compromised, leaving an improperly installed or aging thru-hull could lead to backflow and severe water damage. In the repair featured in the video, the goal is to eliminate the hole in the bottom of the thru-hull, leaving the top intact for rerouting the drainage.
Materials and Tools Needed
There are some essential materials needed for a project like this, and of course, TotalBoat has what you’ll need:
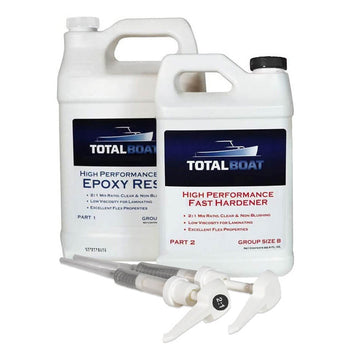
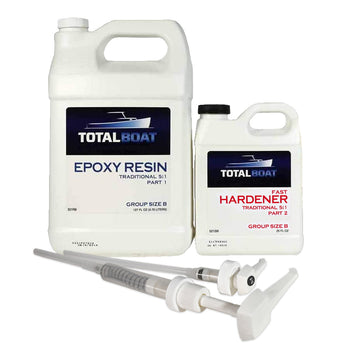
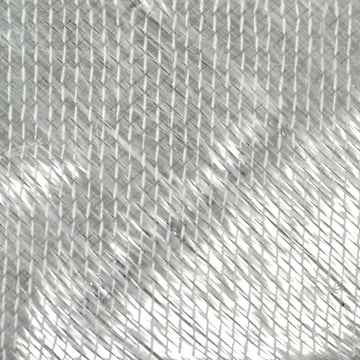
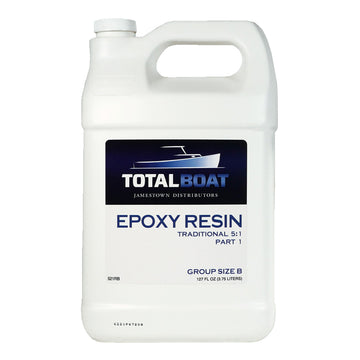
- TotalBoat 5:1 Epoxy Resin with 1708 fiberglass cloth
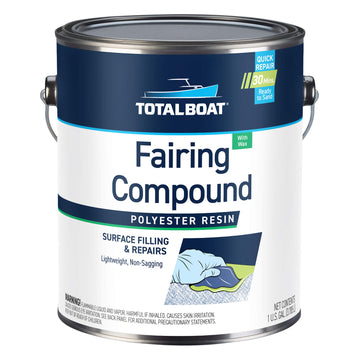
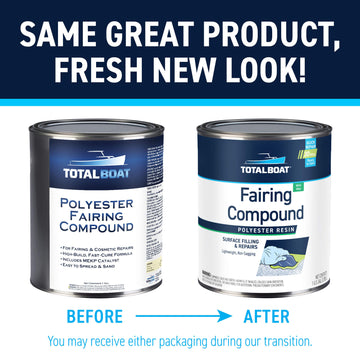
- TotalFair Epoxy Fairing Compound
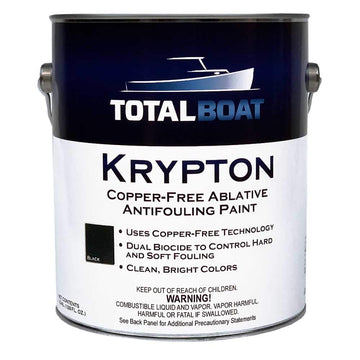
- TotalBoat Krypton Bottom Paint to finalize the repair.
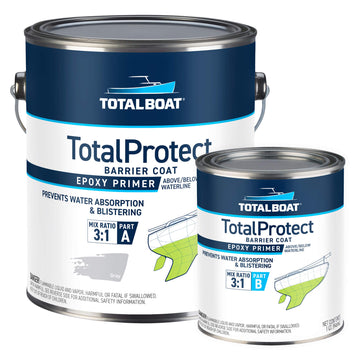
- TotalProtect Barrier Coat
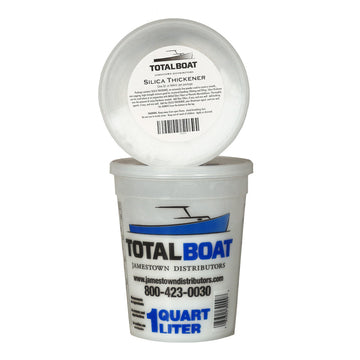
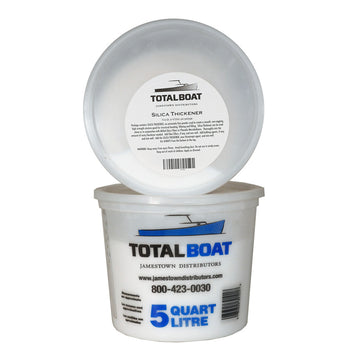
- TotalBoat Silica Thickener
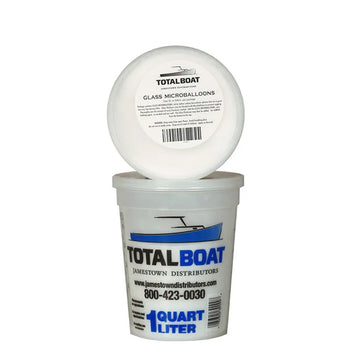
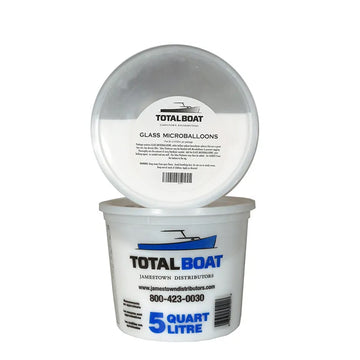
- TotalBoat Microballoons
- Peel Ply Release Fabric
- 1708 Fiberglass
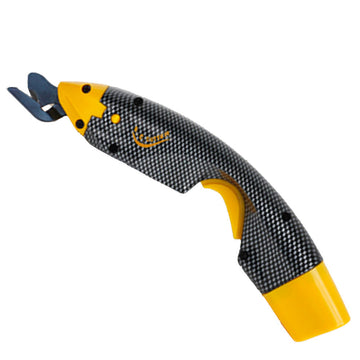
- EC Cutter Composite Cutting Shears
Step-by-Step Guide
Removing the Thru-hull Fitting
The old thru-hull fitting is challenging to remove due to corrosion and its initial secure installation. Andy uses a jigsaw to segment and pry the fitting free from the hull. This step requires careful cutting and segmenting to avoid damaging the surrounding hull.
Surface Preparation
With the fitting removed, Andy grinds down the hole to create a tapered surface, preparing it for fiberglassing. He emphasizes the importance of a clean, tapered surface for the fiberglass to bond well, recommending an ideal taper of 12:1 or, if access is restricted to one side, increasing to a 16:1 taper.
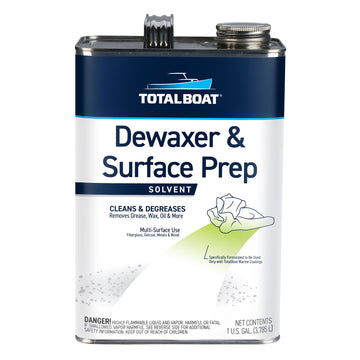
To clean the area further, he applies TotalBoat Dewaxer & Surface Prep Solvent Wash, ensuring the surface is ready for the epoxy work.

Fiberglassing the Exterior of the Hole
Andy begins the fiberglassing process by preparing four layers of 1708 fiberglass cloth with TotalBoat 5:1 Epoxy Resin. Using peel ply on a workbench, he wets each layer individually, layering from the smallest to largest pieces to match the taper of the prepared hull. This "wet-on-wet" stacking approach allows the entire stack to be applied in one shot, minimizing the risk of trapped air. Using the peel ply as a backer makes moving the wet-out piece to the hull easier and cleaner. He then smooths out any air bubbles or excess resin before allowing the fiberglass to cure.


Fiberglassing the Interior of the Hole
Next, Andy moves to the interior of the hole, applying two additional layers of 1708 fiberglass with TotalBoat 5:1 Epoxy Resin. He prepares a thick epoxy filler using a mix of glass microballoons and silica thickener for a "peanut butter" consistency to fill any low areas created by grinding. This thickened epoxy provides a smooth surface to support the fiberglass layers on the interior.
Applying the TotalFair Epoxy Fairing Compound
After the fiberglassing is complete, Andy applies TotalFair Epoxy Fairing Compound to smooth over any low spots on the exterior. The TotalFair compound is a 1:1 mix, providing a sturdy, smooth surface that will be sanded before the barrier coat. Andy demonstrates a technique to remove air bubbles from the compound by spreading it thinly on a sheet, ensuring the final application is smooth and bubble-free for a flawless finish.


Finishing with the Barrier Coat and Krypton Bottom Paint
The final steps involve sanding the TotalFair to a smooth finish, refilling pin holes as needed, and then applying a barrier coat such as Total Protect. Andy completes the repair by applying TotalBoat Krypton Bottom Paint, which is specifically formulated antifouling paint for below-the-waterline applications, offering lasting protection against marine growth.
This video demonstrates a thorough approach to closing an unused thru-hull, showing each step in detail with the use of TotalBoat products. The combination of TotalBoat 5:1 Epoxy, 1708 fiberglass, TotalFair compound, and Krypton Bottom Paint results in a strong, durable, and safe repair that effectively seals the hull below the waterline. Use this technique to repair any unwanted hole in your boat - especially those below the waterline where they are at the most risk for failing and getting you in serious trouble.
