


Something amazing is taking shape in the world of epoxy resin. Turns out, epoxy isn’t just for boatbuilding and woodworking – it’s for art, too. And as producers and sellers of epoxy resins, this is pretty darned exciting to us. We have been immersed in the world of River Tables recently, which are currently taking over Instagram. This fascinating craft is possessing the minds of woodworkers and artists who are embracing this technique in their woodshops and workshops. Check out a few of our favorite makers who have put TotalBoat Epoxy to the test with their beautiful River Tables.
UPDATED May 2019: New! DIY Epoxy River Table Project Kits
 
|
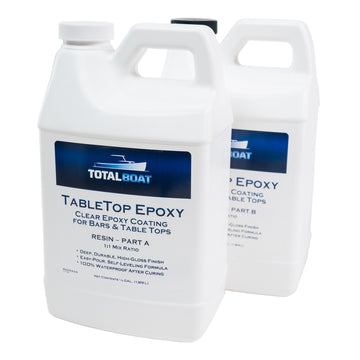
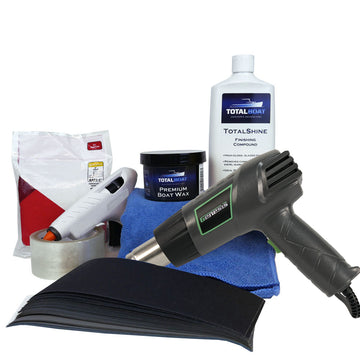
Want to make a one-of-a-kind river table but aren’t sure where to start? Our DIY Epoxy River Table Kits include everything you’ll need except the wood itself. You’ll even get easy-to-follow step-by-step instructions. Choose Quart or Gallon size kit, depending on the size of your project. |
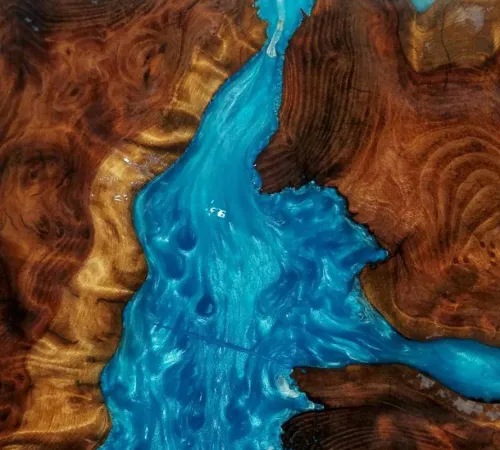
Below are a few of the finest examples of some of the stunning pieces being held together by TotalBoat Epoxy. When mixed with the insanely brilliant pigments made by Black Diamond Pigments, these River Tables really come alive. The pigments have so much depth and sparkle and come in many amazing colors. Mixing epoxy with the pigments has made the whole TotalBoat Shop Team into an Epoxy Crafting class. What cool things have you made with epoxy?
These talented woodworkers do much more than these River Tables, as you’ll see from their Instagram pages. However, Jesse from Penalty Box Woodshop, Nate From Ultimate Maker and Brandon from Walkers Woodworks have taken the time to record their process, and have shared their videos of the process on their Instagram accounts.
Want to try this at home? Go for it! Here’s our TotalBoat Epoxy *advice* for success with a River Table. Of course conditions, available wood and supplies, and so many other variables can affect the outcome of your table – so embrace the experiment and start small!
- Find a beautiful slab of wood with great bark.
- Strip off that beautiful bark and clean up the “live edge” underneath and clean with a solvent like Mineral Spirits.
- Cut the slab in half down the middle
- Build a Mold or Dam (box) the same size as the 2 boards which are arranged in the box with the straight edges outside and the live edges facing each other inside. Leave a space or void down the middle for the river. Remove the boards.
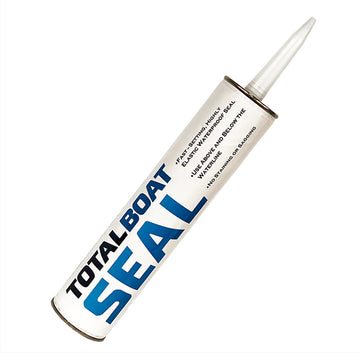
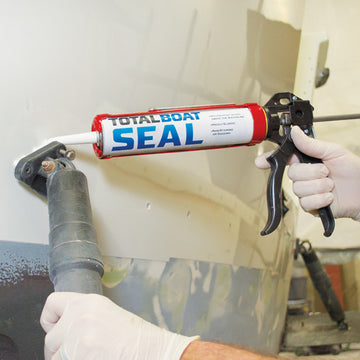
- Line the box with a plastic tape (‘Tuck Tape’ on Amazon or plastic shipping tape works best) and put an adhesive like Silicone or TotalSeal Marine Sealant along all the seams or joints to prevent epoxy from spilling out of the box.
- Place the boards inside the box
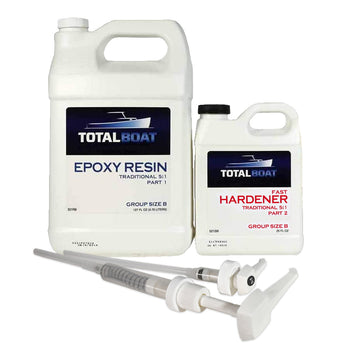
- Slowly, and in a large container, mix your TotalBoat High Performance 2:1 Epoxy with the Slow Hardener (it’s our most clear epoxy!)
- Brush a thin coating of the clear epoxy on the wood pieces to prevent the wood from gassing out when deeper layers of epoxy are poured. (*Using the 2:1 epoxy is the best choice. It doesn’t blush, goes on very clear and is more flexible than a Traditional 5:1 epoxy mixture)
- Stir your choice of pigments into the mixed epoxy.
- Pour the first layer of the river into the void – pouring no more than 1/4″ approximately, depending on the width and overall size of the river opening.
- Pop any air bubbles on the surface using a heat gun or torch – but be very careful not to hold too close to epoxy or heat it for too long. Let the epoxy settle and pop more bubbles as they rise to the top of each layer. Let the epoxy dry.
- Continue to apply more thin layers of the epoxy, mixing new batches each time. Do not get excited and pour too deep or the epoxy risks being “baked” or exotherm-ing. Continue to add layers until the river is a bit “proud” or higher than the wooden slabs so the epoxy and the wood can be sanded down.
- When the epoxy is totally dry, pop the piece out of the mold.
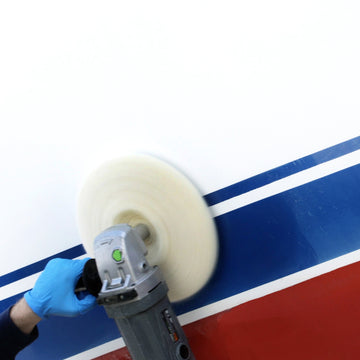
- Sand down the whole top, up to 1000-grit or higher. Even wet-sanding and polishing works great.
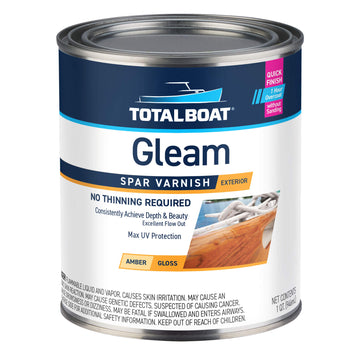
- Finish with your favorite wood oil finish. Or varnish with 3 coats of TotalBoat Halcyon Marine Varnish which is a very clear, rugged varnish with great UV protection.
- BOOM! done. Enjoy and send us pics and videos!
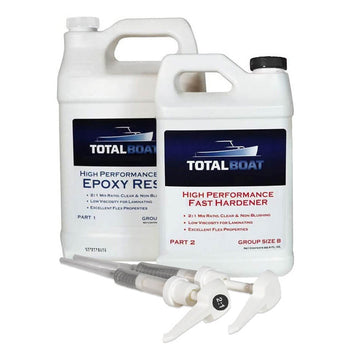

Clear High Performance Epoxy Kits
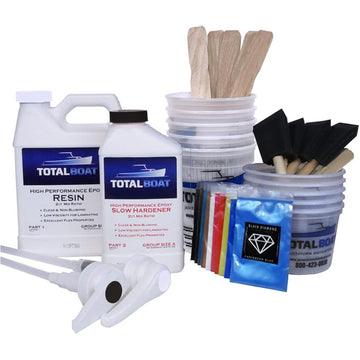
Epoxy River Table Project Kits


