When it comes to pushing the boundaries of woodworking and boat-building, Paul Jackman of Jackman Works never shies away from a challenge. In his latest video, Paul takes on a unique project he has been wanting to do for over a decade: building a kayak using pallet wood. But this isn’t just any kayak; it’s a Wood Duck Hybrid made with a combination of stitch-and-glue plywood hull construction with a cedar strip deck. In typical Paul fashion, he has put his own spin on it by substituting the cedar with his signature material of choice, reclaimed pallet wood.
This ambitious build showcases not only Paul’s creativity and craftsmanship but also his reliance on a range of TotalBoat products, essential to achieving a structurally sound and visually striking result. Here's how Paul took his kayak from concept to reality:
Stitch-and-Glue Hull Assembly with Epoxy
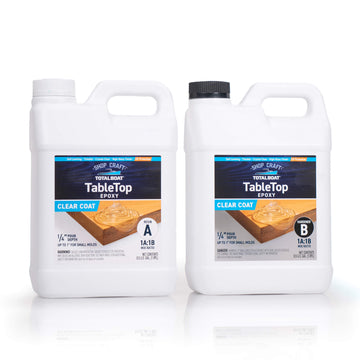
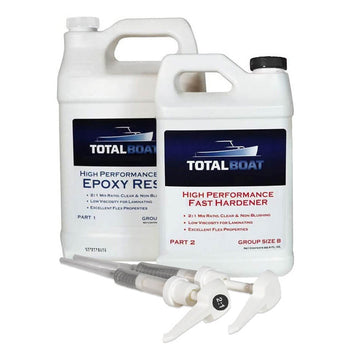
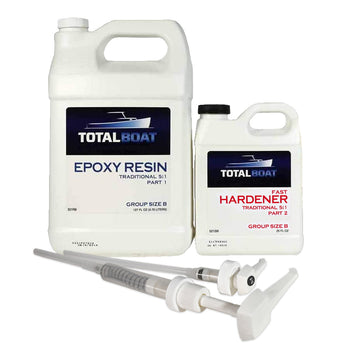
Paul begins with the kayak’s hull assembly, using the stitch-and-glue method where plywood panels are temporarily held together with copper wire stitches. To bond these pieces permanently, he uses TotalBoat High Performance Epoxy, applying it between the seams and reinforcing the structure with fiberglass tape soaked in epoxy. This process ensures the hull is strong and durable. Paul smooths out any gaps and imperfections with epoxy before sanding the surface to perfection.


Custom Laser Engraving with UV Resin
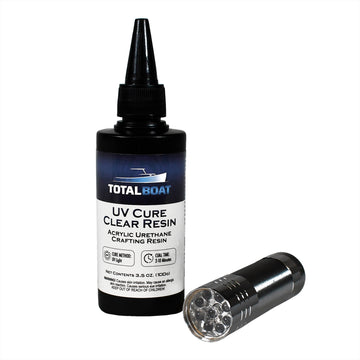
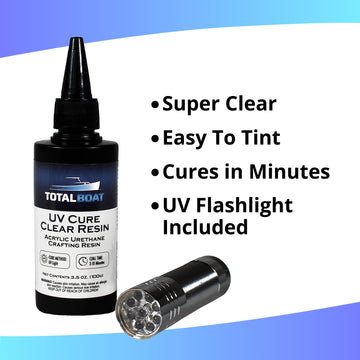
Every custom boat needs a unique identifier, and Paul laser engraves his kayak’s hull identification number. To fill the engraved letters, he turns to TotalBoat UV Resin. This resin cures quickly, allowing for immediate sanding, giving the kayak a sleek, professional finish while meeting U.S. Coast Guard regulations.

Fiberglassing for Strength
The next step is reinforcing the hull with fiberglass cloth, a critical element of any kayak build. Before this, Paul rounds the edges (aka filleting) with High Performance and wood flour using a syringe. With the hull prepped for the fiberglass application, Paul saturates the cloth with High Performance Epoxy, smoothing out any wrinkles with a squeegee. This process is oh-so-satisfying, and of course, adds structural integrity and ensures a clean, glass-like finish on the hull’s exterior.


End Pours for Durability
To reinforce the kayak’s most vulnerable areas—the bow and stern—Paul performed end pours using a mix of High Performance Epoxy, Silica Thickener. These areas tend to take the most wear and tear when in use, so the extra durability added here will pay off when the kayak hits the water.


Protecting the Interior with TotalProtect
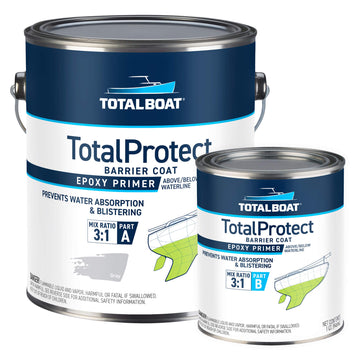
Inside the kayak’s storage compartments, Paul applied TotalBoat TotalProtect, a two-part epoxy primer that guards against water ingress. This layer ensures the inside of the kayak is just as protected as the outside, adding long-lasting durability to the storage areas.

Fiberglassing and Varnishing the Deck
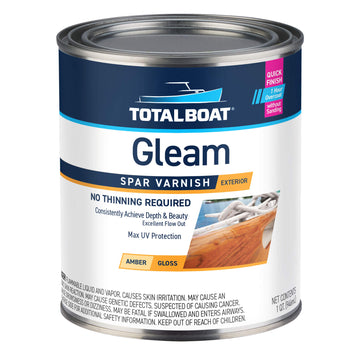
After finishing the hull, Paul moved on to the deck, which required the same fiberglassing process as the hull. He then applied TotalBoat Gleam 2.0 Gloss Varnish, known for its amber tint that enhances the wood’s natural beauty. Paul applied eight coats of varnish using the roll-and-tip method, creating a flawless, high-gloss finish.
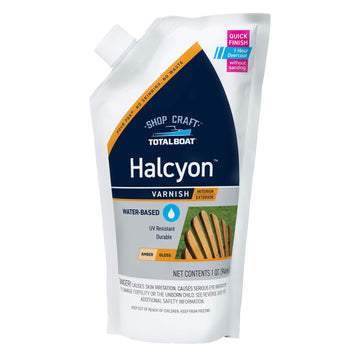
But Paul didn’t stop there. After showing the kayak at the Wooden Boat Show, he decided to make further refinements. Switching to TotalBoat Halcyon Clear Gloss, a water-based varnish, he sprayed on 10 additional coats for a stunning, glass-like finish.

Adding Color and Contrast
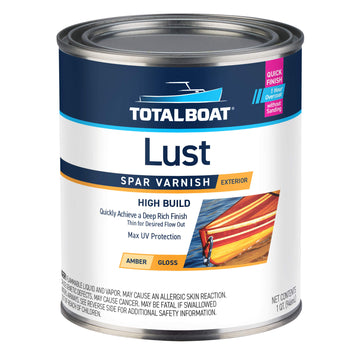
For a bold visual touch, Paul painted the bottom two panels of the kayak with Elixir Paint in Fire Red, adding a striking pop of color. In the seating compartment, he drew inspiration from his recent trip to the Wooden Boat Show, and he opted for a sleek, glare-free look with TotalBoat Lust Matte Varnish, ensuring a comfortable and stylish ride.

Polishing to Perfection
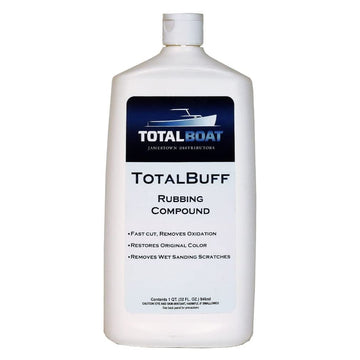
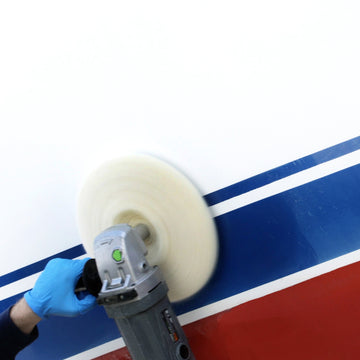
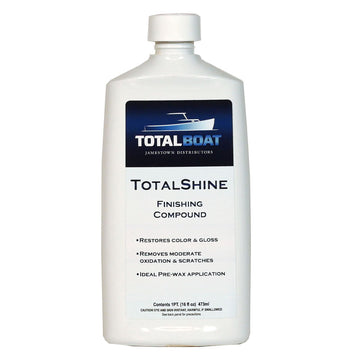
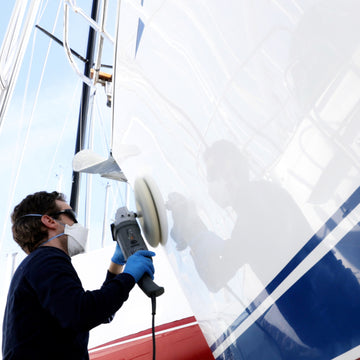
No Paul Jackman project would be complete without a mirror-like finish. To achieve this, Paul turned to TotalBoat TotalBuff and TotalShine for a multi-step buffing process. After sanding the varnish with progressively finer grits, he buffed out any remaining imperfections. Finally, he applied TotalBoat Boat Wax for a smooth, glossy surface that gleamed under the sunlight.
The Grand Finale: Launching the Kayak
After weeks of hard work and meticulous attention to detail, the moment of truth arrived—launching the kayak. With its pallet wood deck, bold red accents, and flawless finish, the kayak is not only a testament to Paul Jackman’s skill but also to the versatility and performance of TotalBoat products. From epoxy to varnish, every product played a key role in bringing this one-of-a-kind kayak to life.
Whether you’re an experienced boat builder or someone looking to try your hand at DIY woodworking, Paul’s project is a great example of what’s possible with the right materials, tools, and a little creativity. To see the full build process in action, be sure to check out the video on Jackman Works’ YouTube channel!

Products Used:
- TotalBoat High Performance Epoxy
- TotalBoat UV Resin
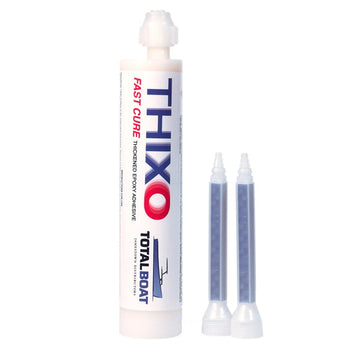
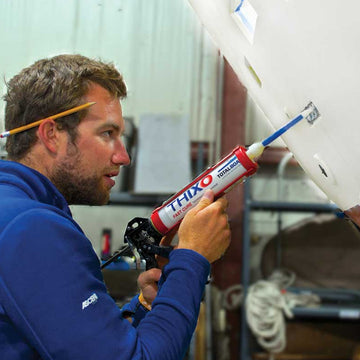
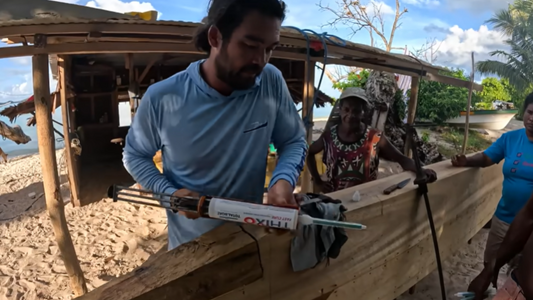
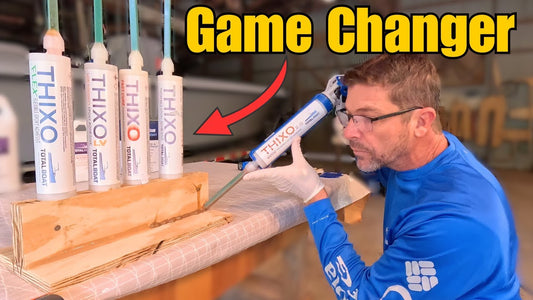
- TotalBoat Thixo Fast
- TotalBoat TotalProtect
- TotalBoat Gleam 2.0 Gloss Varnish
- TotalBoat Halcyon Clear Gloss
- TotalBoat Lust Matte Varnish
- TotalBoat TotalBuff and TotalShine
- TotalBoat Boat Wax










2 comments
Thanks for taking the time to film your labors. Incredible attention to detail and your obsession to get a perfect finish . I built CLC’s east port pram {sailing rig} a few years back. Actually enjoyed the build as much as sailing her. Wanted to increase the size of the gunwale strips so soaked strip stock in water then wedged the strips between 3 trees in backyard to get a permanent bend to conform to the boats hull curve .’ Mickey mouse ’but worked. Again thanks for sharing your skill.
Grate job ! ! Q