


Flawless, bubble-free epoxy castings or coatings are every maker’s dream. To prevent air bubbles from turning your artistic vision into a nightmare, there are some simple things you can do before and after pouring to remove bubbles or help minimize them.
Keep in mind that you don’t have to do every suggestion you’ll find here in order to remove bubbles, just use what works for you – and have fun!
How to Prevent Bubbles in Epoxy Before You Pour

Above: Lots of bubbles will form if epoxy is stirred too aggressively.
Here are some tips that’ll help you create fewer bubbles before pouring your castings or before coating surfaces.
 Warm the epoxy, the surface, any prepared molds, and your work room
Before you begin, warming the components, the room, the mold (if applicable), and the application surface will lower the viscosity of the material, allowing any bubbles to float to the surface with much less resistance and pop on their own. To warm the epoxy resin and hardener components before dispensing, place the tightly closed bottles in a warm (not hot) water bath for several minutes. Remove the bottles from the water and dry them completely before dispensing the components at the required mix ratio.
Make sure to keep the conditions in your work room at the recommended temperature and humidity levels specified for the epoxy system you’re using – usually somewhere between 70-80°F or so – while working with and curing your project.
Mix the resin and hardener slowly

You’re not trying to churn cream into butter here, so remember that s-l-o-w and easy does it when stirring the resin and hardener components together. There’s a tendency for first-timers to feel pressured because of the pot life – but the mixing part only takes about four to six minutes when you think about it, so no need to rush.
Stir tints and colorants slowly into mixed epoxy

Once you mix the components thoroughly, you can add coloring agents such as mica powders, alcohol inks, universal tints, and pigment dispersions. Stir slowly to blend the tints, and minimize bubbles.
Place the material in a vacuum chamber to degas

A vacuum chamber is not used to cure resin castings, it’s used to degas, or remove bubbles, by removing air pressure. To remove bubbles before you pour resin into prepared molds, you can put your mixed resin and hardener in vacuum chamber.
Use a high vacuum pressure setting to force air bubbles to the surface so they pop. Remove the degassed material from the chamber, and proceed with your project.

Above: Total Boat mixed epoxy bubbling while degassing in a vacuum chamber.
If you don’t have access to a vacuum chamber, don’t worry – there are other ways to remove bubbles after you’ve poured the epoxy, which we’ll get to in a minute.
Seal porous wood surfaces with a thin coat of epoxy before applying a flood coat
If you apply a flood coat of epoxy – even 1/8" deep – directly onto a porous surface such as wood, the wood will continue to release air in the form of bubbles – even though it’s covered with epoxy. When this happens, there are so many bubbles you won’t be able to remove them fast enough before the material starts curing and the bubbles get trapped, ruining your project.
But there’s an easy solution. Apply a thin coat of mixed epoxy to the prepared surface to seal the pores and prevent off-gassing in subsequent coats.

Above, L-R: Apply a thin seal coat of epoxy to the surface and let it dry; apply a flood coat.
After you’ve applied the seal coat, give it a little time to cure. You’ll know it’s time to pour the flood coat when you can touch the seal coat with your gloved fingertip and it’s slightly tacky, but leaves no trace.
Seal porous objects before embedding them in a flood coat of epoxy

Above: TotalBoat Ambassador Ella Fuldeco (@ellafuldeco) coated flowers in TotalBoat ThickSet
Before embedding inclusions in your project, use a small brush to apply a thin seal coat of mixed epoxy to coat any porous objects, preventing them from off-gassing and creating tons of bubbles. Such items can include shells, burls, dried flowers, paper, and stones. Certain objects can be dipped into the mixed epoxy to seal them. Allow the seal coat to dry to a tack-free state before embedding these objects.
Note that if using a deep pour system such as TotalBoat ThickSet for flood coats, this type of epoxy takes a long time to cure, so you’ll want to use a faster curing system, such as TotalBoat High Performance 2:1 or TotalBoat TableTop, for the seal coat.
Pour mixed epoxy slowly into prepared molds

Above: Caleb Harris (@youcanmakethistoo) pouring TotalBoat ThickSet epoxy.
There’s no such thing as a bubble-free pour, but you can reduce the number of bubbles that form by holding the container of mixed epoxy close to the surface when you pour, and pour the material slowly.
How to Remove Bubbles in Epoxy After You Pour

Above: TotalBoat Ambassador Baboucarr (@charitybuilds) removes bubbles in a river table pour.
There’s no getting around the fact that you’ll see bubbles when you pour – even when you pour slowly. But here are a few things you can do to get rid of them before curing.
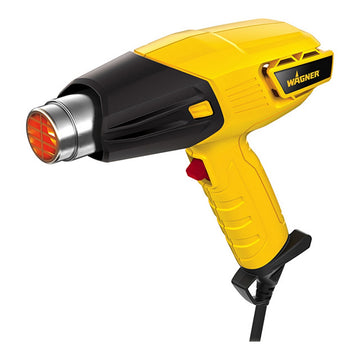
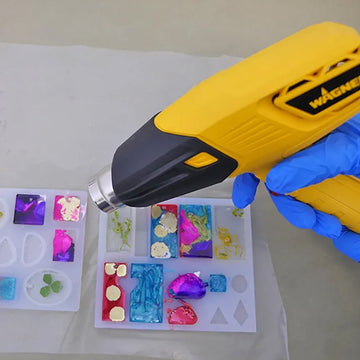
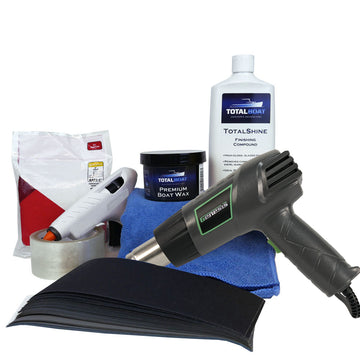
Use a heat gun or small, hand-held torch to pop bubbles
Wave a heat (hot air) gun or small torch quickly back and forth a few inches above the surface, and keep it moving so you don’t scorch the surface. The heat helps the bubbles rise to the surface, where they will pop. Whether to use a heat gun or a torch is a matter of preference.
Place your casting in a vacuum chamber to remove bubbles before curing

Earlier in this post, we mentioned using a vacuum chamber to degas mixed epoxy before pouring it into molds. You can also use a vacuum chamber to remove bubbles after pouring by placing your filled mold in the chamber and using a very high vacuum pressure setting.
This will force any air bubbles to rise to the surface, where they’ll pop. The higher the vacuum pressure, the more effective degassing will be.
Once the bubbles are gone, restore normal pressure and remove your piece from the vacuum chamber. Allow the piece to cure before demolding. Remember, vacuum pressure is only used to degas, not to cure.
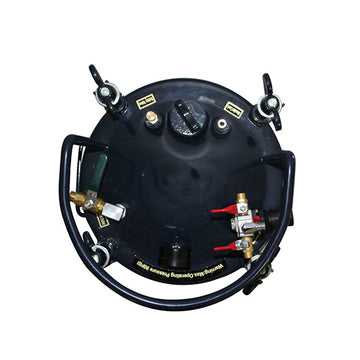
Place your casting in a pressure pot to compress bubbles while curing
Unlike a vacuum chamber, which removes air pressure, a pressure pot adds air pressure. This added pressure cures the epoxy and compresses bubbles so they become so small they’re no longer visible.


The casting will cure inside the pressure pot, but the pressure also compresses bubbles, reducing them in size so they’re no longer visible.

It’s important that you leave the casting under pressure for the full cure time. Don’t release the pressure before the casting is cured completely or the bubbles will return.
What’s the Difference Between a Pressure Pot and a Vacuum Chamber?
It’s easy to confuse these two, but just remember that a vacuum chamber removes air pressure to remove air bubbles, and a pressure pot adds air pressure to compress air bubbles so they become too small to see.
The other major difference is that a vacuum chamber is used for degassing for the purpose of removing bubbles before the epoxy is left to cure on its own, not for curing. A pressure pot is used to cure resin and to make bubbles so small they’re no longer visible.
If you have any questions about working with epoxy, including how to remove bubbles from coated countertops, table tops, castings, or resin art, call our helpful TotalBoat Tech Support Team at 1-800-497-0010 for answers. For related topics, here’s more info on achieving best results in cold weather, working on epoxy projects in hot weather, and adding UV protection to outdoor projects.
Share your creative projects by tagging us on Instagram and Facebook using @totalboat, #totalboat and #totalboatepoxy – we can’t wait to see what you’re making!


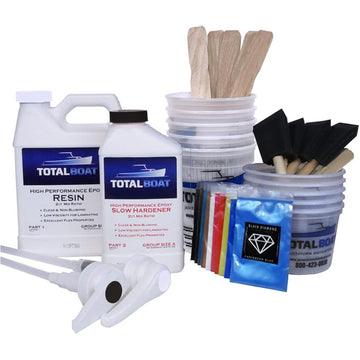
Clear Epoxy Bar Top & Table Top Project Kits
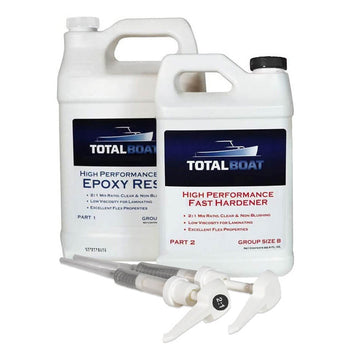

Clear High Performance Epoxy Kits
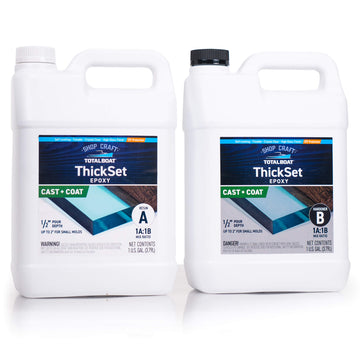

ThickSet Cast + Coat Deep Pour Epoxy Resin Kits
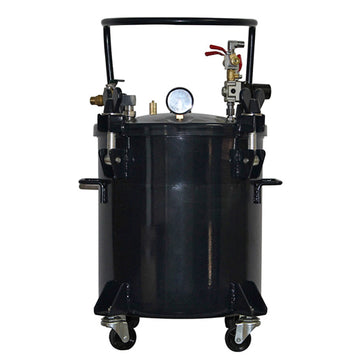
5 Gallon Steel Pressure Pot for Epoxy Resin Casting
Epoxy River Table Project Kits