


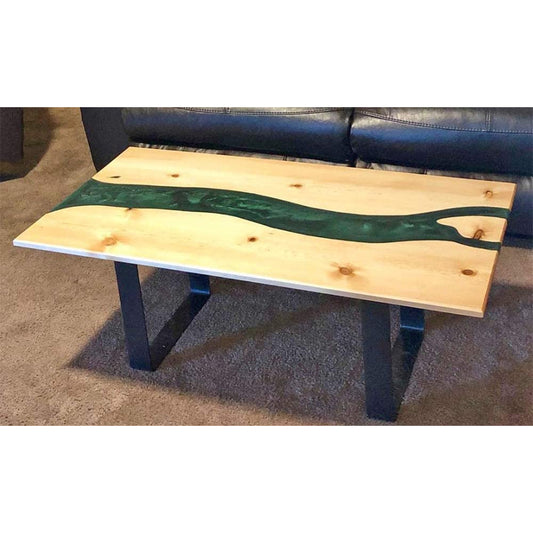

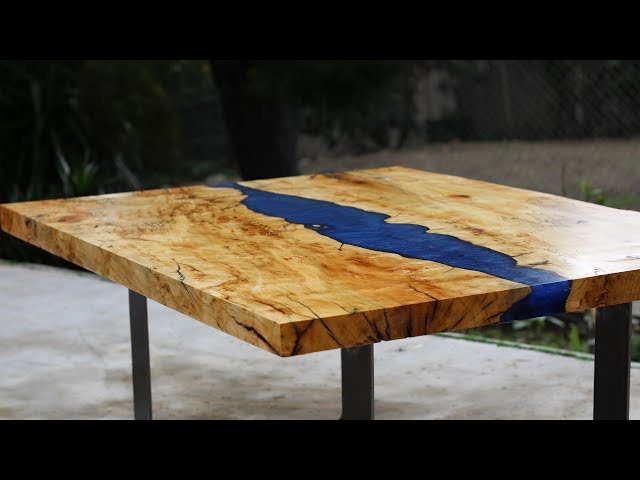
EASY DIY EPOXY PROJECT
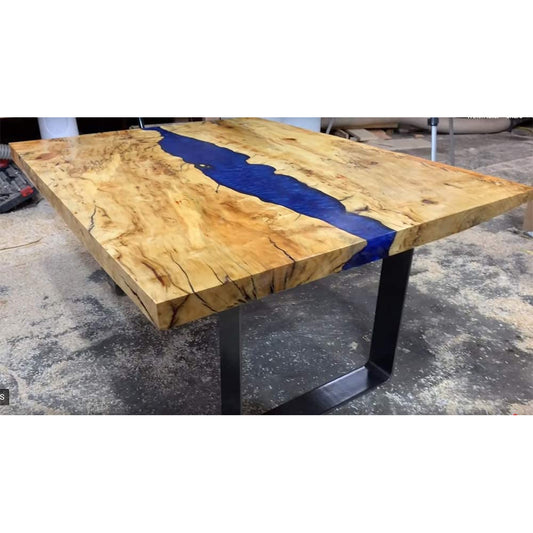
Make a stunning epoxy river table in a few easy steps.Simple 1A:1B Mix Ratio
Just measure, mix, and pour onto the prepared surface.Complete Kit Includes:
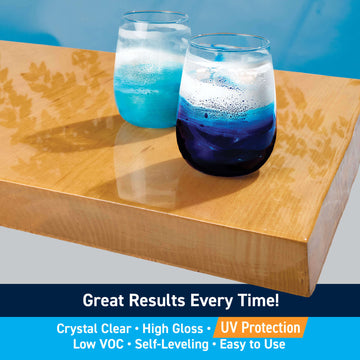
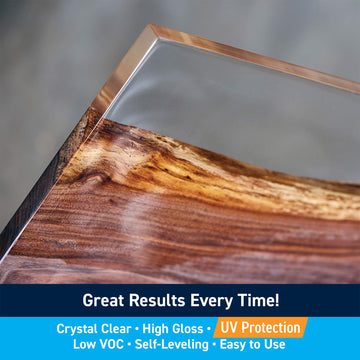
Crystal-clear, UV-resistant epoxy, mica powders, tools, and instructions.EASY TO USE
Step-by-step instructions make it easy!Epoxy River Table Project Kits
Epoxy River Table Project Kits
EASY DIY EPOXY PROJECT
Make a stunning epoxy river table in a few easy steps.Simple 1A:1B Mix Ratio
Just measure, mix, and pour onto the prepared surface.Complete Kit Includes:
Crystal-clear, UV-resistant epoxy, mica powders, tools, and instructions.EASY TO USE
Step-by-step instructions make it easy!Couldn't load pickup availability

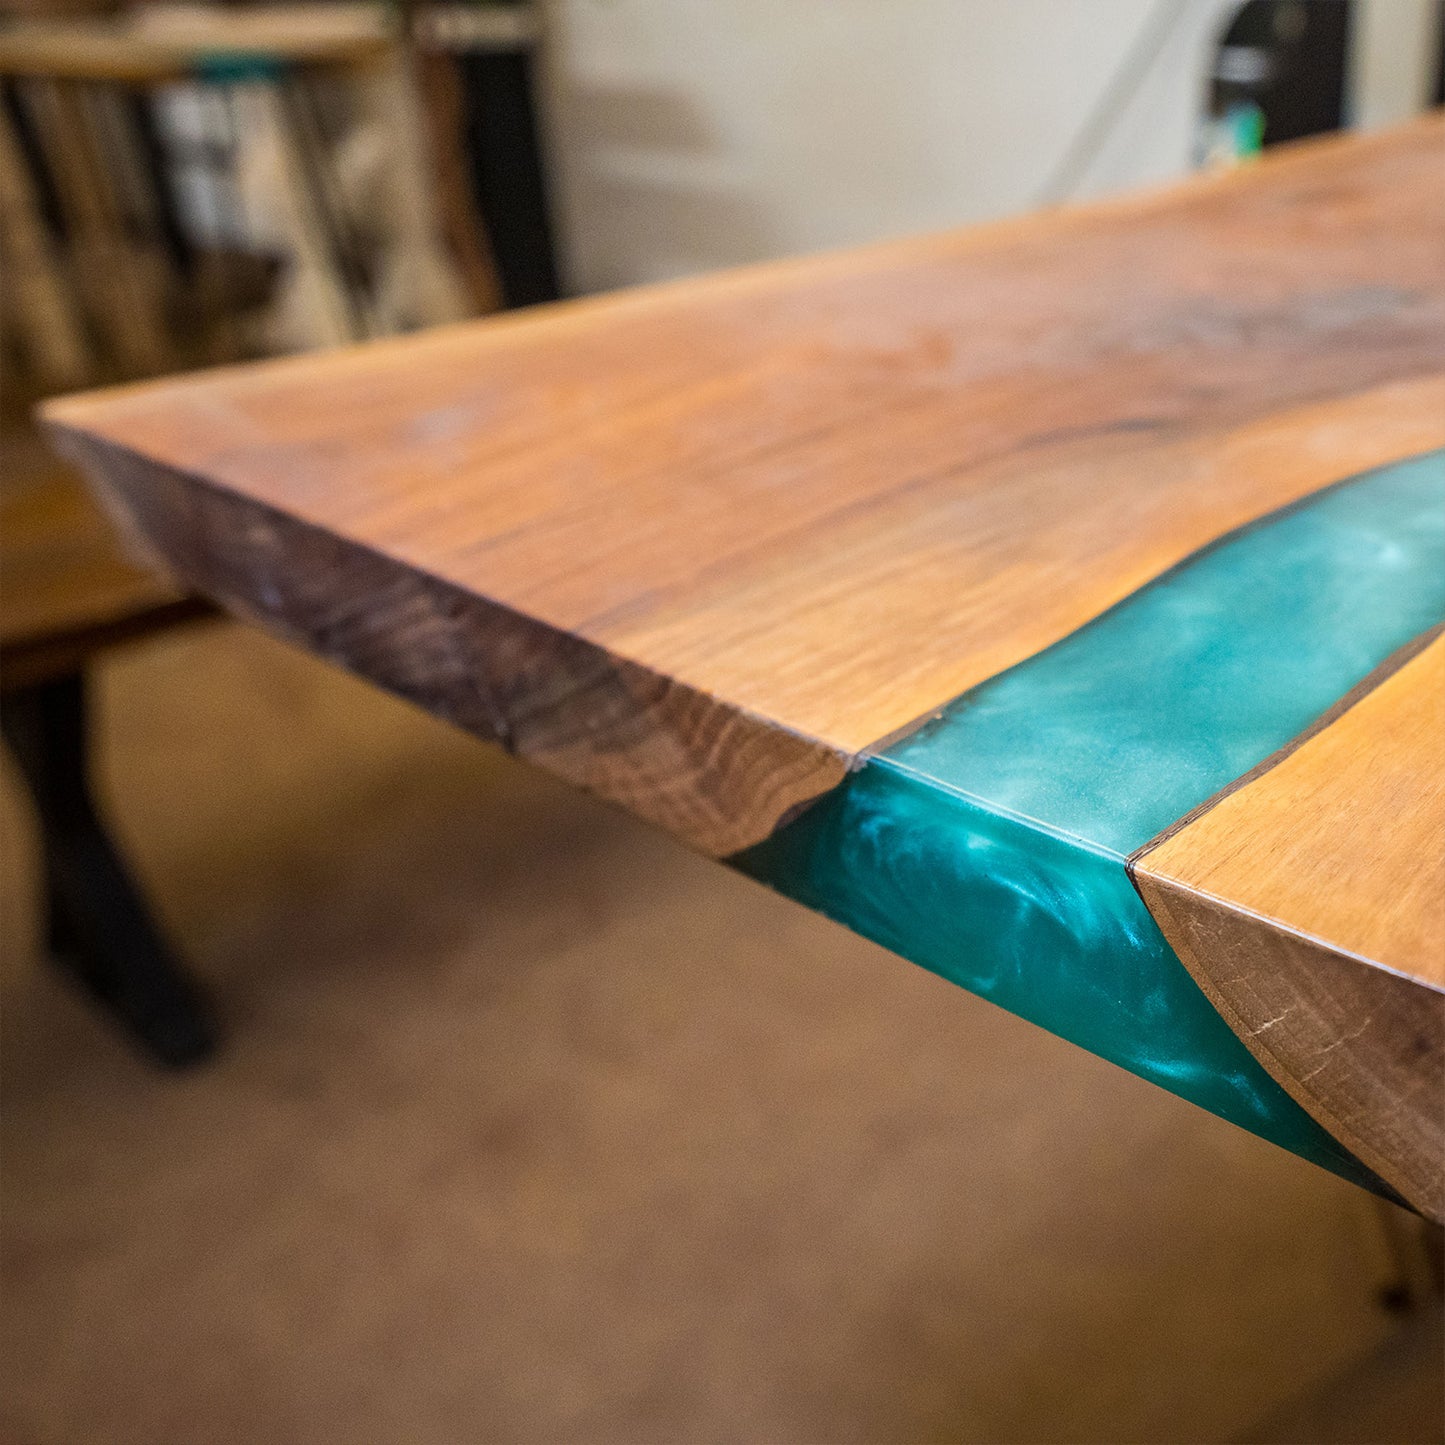


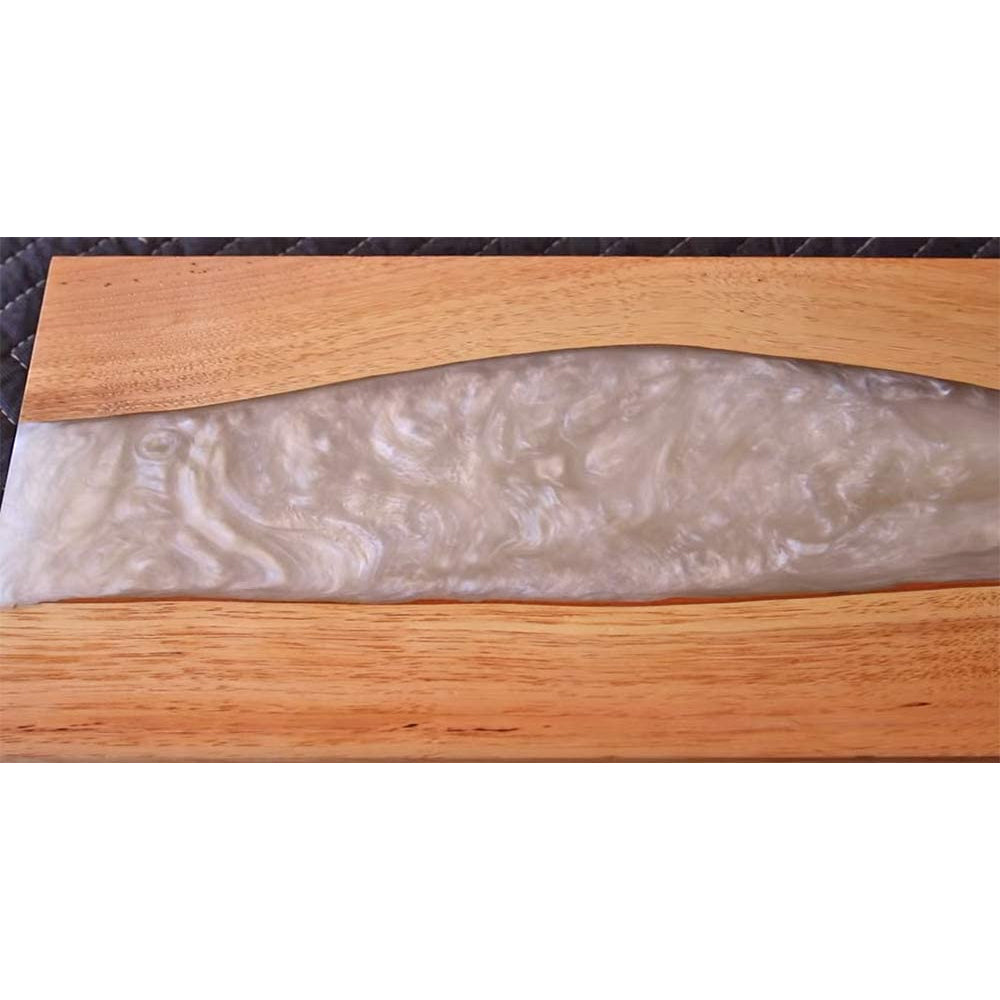


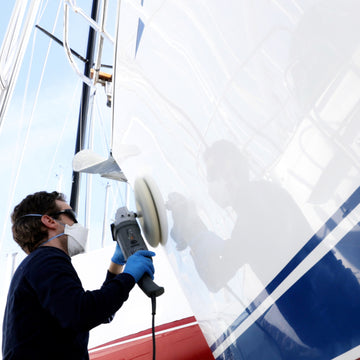
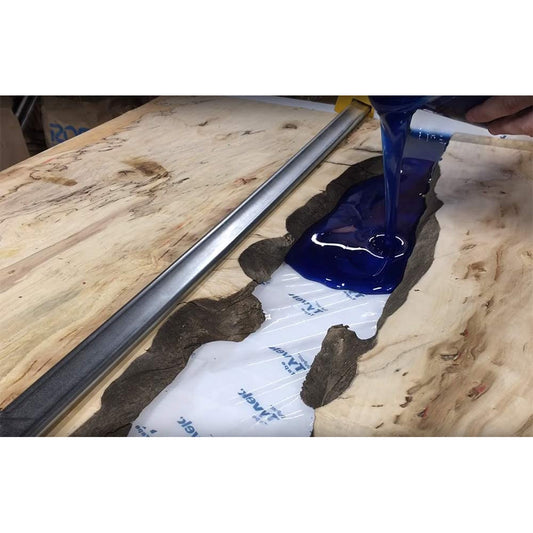
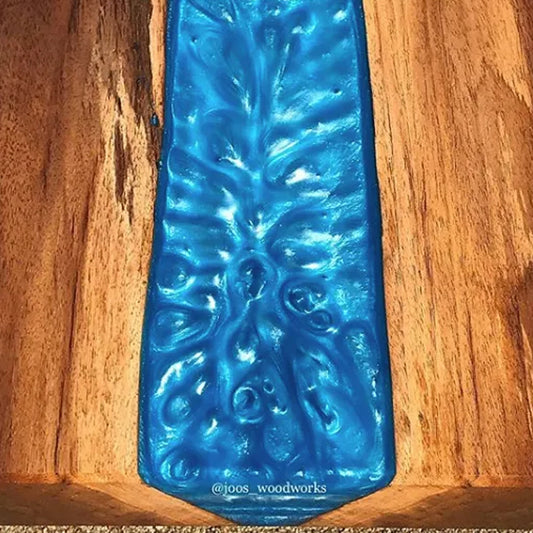
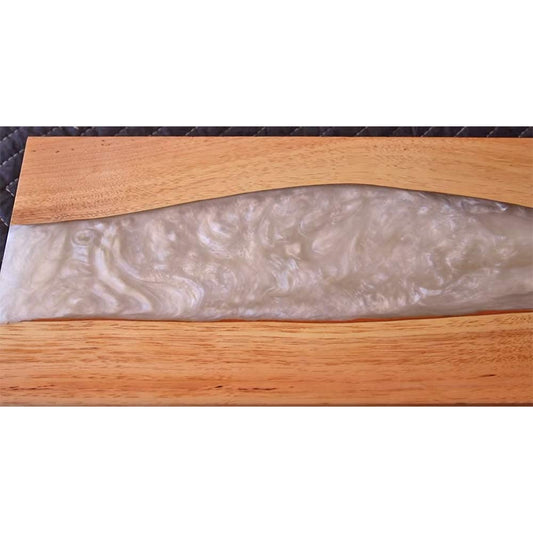
Want to make one-of-a-kind epoxy river tables but aren't sure where to start? Our project-ready DIY Epoxy River Table Project Kits have everything you need, including easy to follow step-by-step instructions to make a maker out of you! It’s easy, it’s fun, and before your epoxy table is done, you’ll be planning your next creative project because once you start making cool stuff—you can’t stop! Our epoxy resin is perfect for live edge river tables made from wood slabs, coffee river tables, dining river tables, hall and console river table builds — and more.
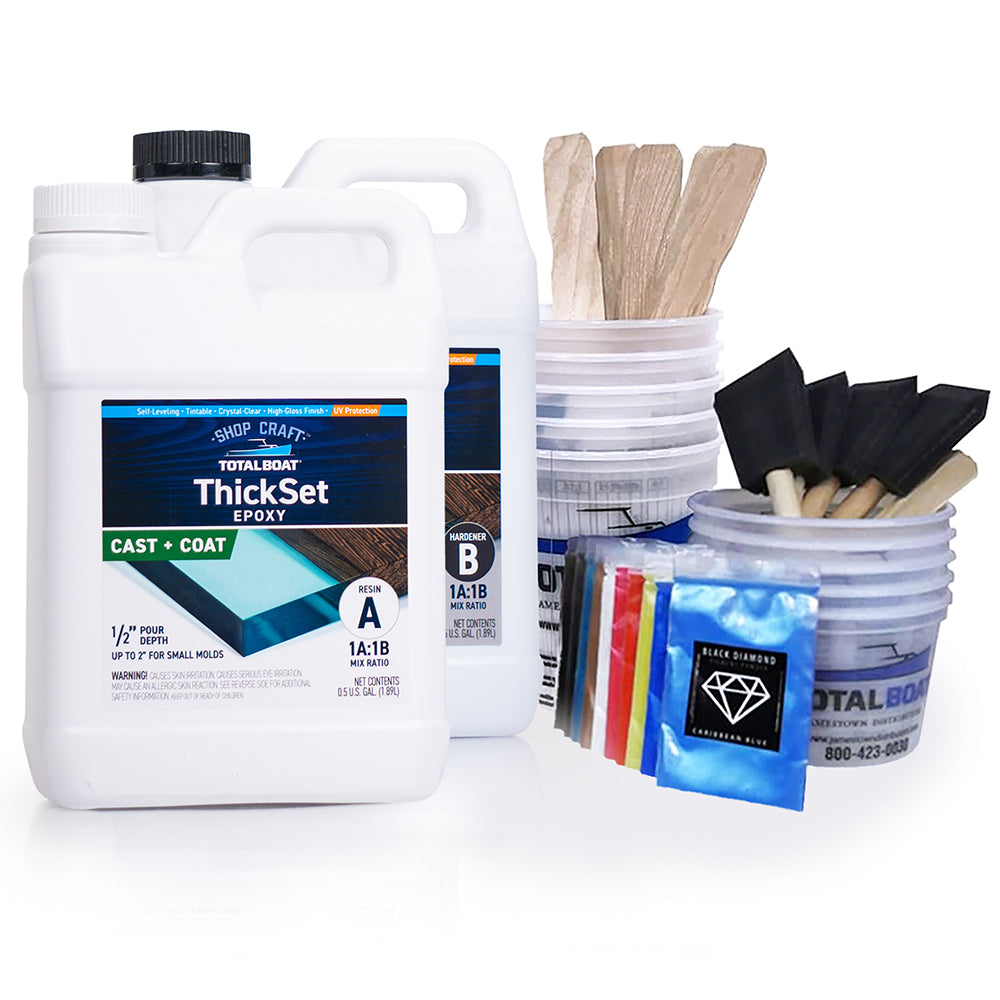
Epoxy River Table Kit Details
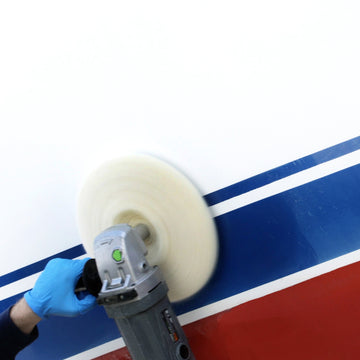
- Clear epoxy that's easy to pour and buff to a high gloss
- Simple 1:1 mix ratio
- Resin self-levels as it cures
- 100% waterproof with resistance to heat, scratches, stains, UV, and yellowing
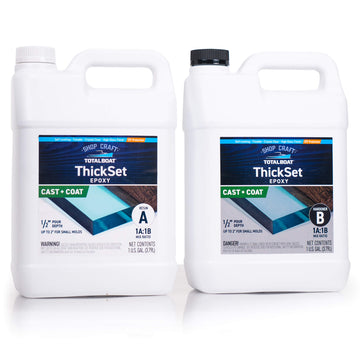
- Kit Sizes: Available in a 2 Quart Kit (1 Quart Thickset Epoxy Resin Part A and 1 Quart Thickset Slow Epoxy Hardener Part B), and a Gallon Kit (½ Gallon Thickset Epoxy Resin Part A and ½ Gallon Thickset Hardener Part B).
- IMPORTANT: Do not place items over 125°F on cured surfaces. While this epoxy is designed for continuous UV exposure, we recommend applying a UV-filtering varnish, such as TotalBoat Halcyon Clear, over the cured surface for maximum protection.
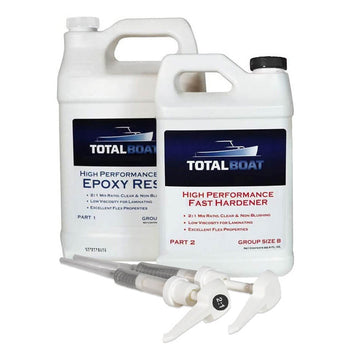
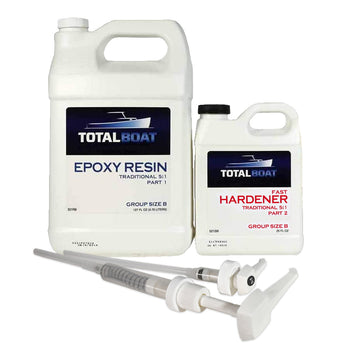
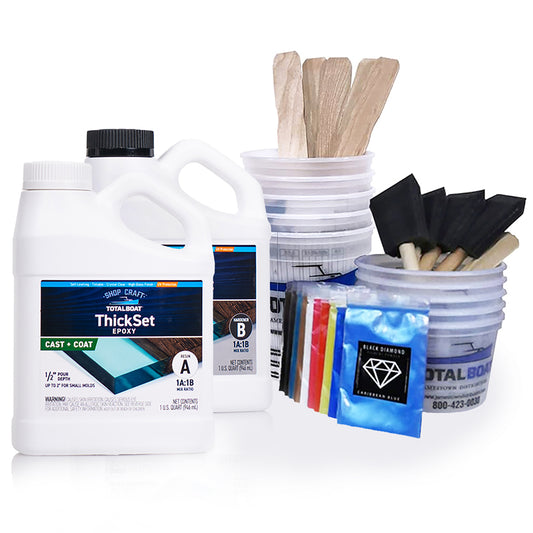
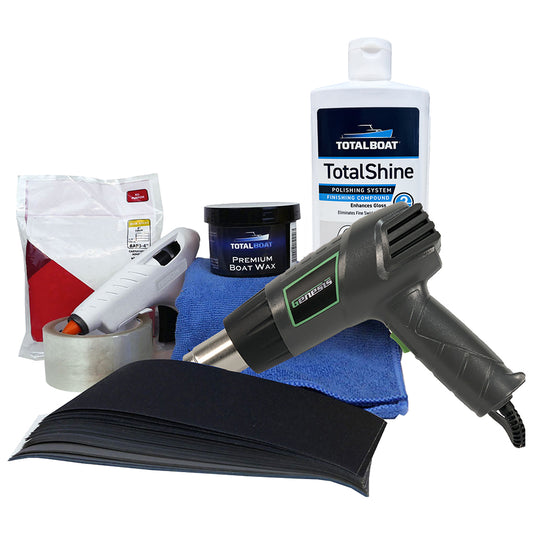
River Table Kit Contents
- TotalBoat Thickset Epoxy Resin and Hardener
- TotalBoat High Performance Slow Hardener
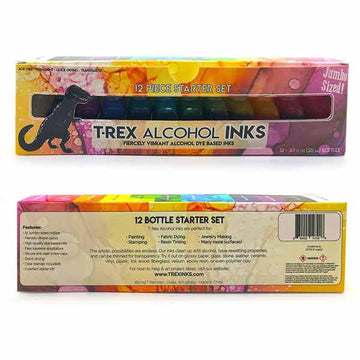
- Black Diamond Mica Powders (10/pk, assorted colors, 5 grams/pk)
- 5 – One-quart plastic mixing cups
- 5 – Half-quart plastic mixing cups
- TotalBoat High Performance calibrated epoxy resin and hardener pumps
- 5 – Large wooden stir sticks (Size: 10”)
- 5 – Small wooden stir sticks (Size: 5½” x ⅝”)
- 1 – Roll, clear plastic packing tape
- 4 – Foam brushes (Width: 2″)
- 1 – Heat gun with power cord
- 1 – Hot glue gun with power cord
- 1 – 24/pk glue sticks (Size: 4” length, ½” diameter)
- Sandpaper – 36 sheets/pk (3 ea. of 120-3000 grit; Size: 9” x 3.6”)
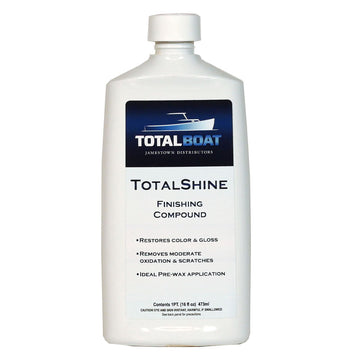
- TotalBoat TotalShine Finishing Compound (Size: 16 fl. oz.)
- TotalBoat Premium Boat Wax (Size: 11 oz.)
- 2 – TotalBoat Microfiber Towels (Size: 16” x 16”)
- River Table Kit Instructions
How much epoxy resin you'll need for your table:
Measure the area you will fill with epoxy to determine how much you will need. Small cracks require less resin than large castings!
AREA: Length x width X depth = Volume needed in cubic inches.
1 quart of mixed epoxy = 57.75 cubic inches
2 quarts of mixed epoxy = 115.5 cubic inches
3 quarts of mixed epoxy = 173.25 cubic inches
1 gallon of mixed epoxy = 231 cubic inches
You can also check out our epoxy coverage calculator!
How many layers will I need to pour?
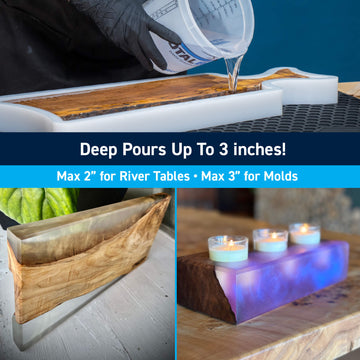
Most river tables will require you pour multiple layers. Some resins like TableTop can only be poured up to 1/4" thick, requiring time and effort to build up. And while it is possible to use a deep pour epoxy like Fathom to pour up to 2-4" per layer, these formulas also come with extended curing times that could take days before your river table is ready to use. Thickset offers the best of both worlds, allowing you to pour up to 1/2" per layer to build up faster and only requiring 4-6 hours between coats for a faster cure.
Epoxy Tips and Guidelines:
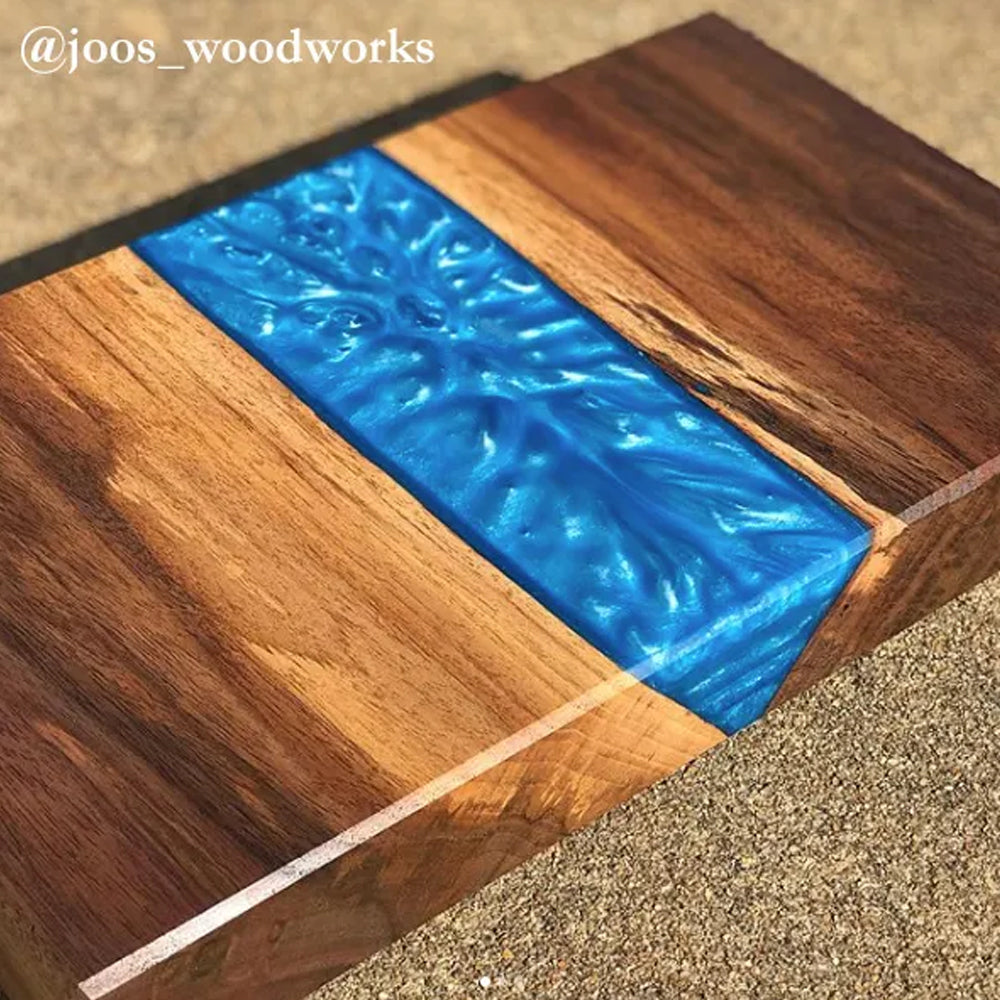
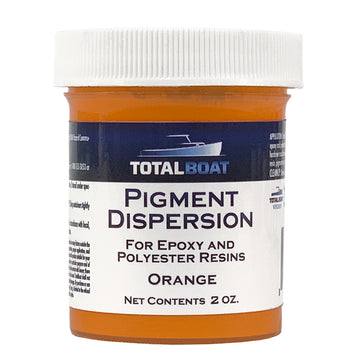
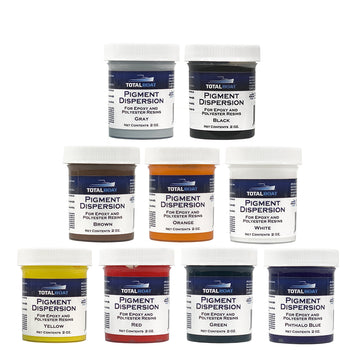
- After epoxy is mixed thoroughly, add mica powder or liquid pigments as desired. A little bit of color goes a long way!
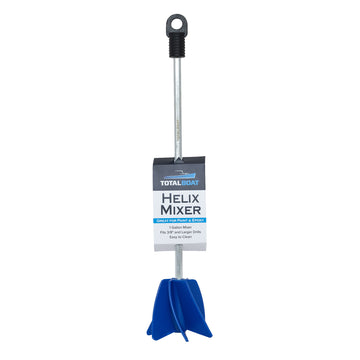
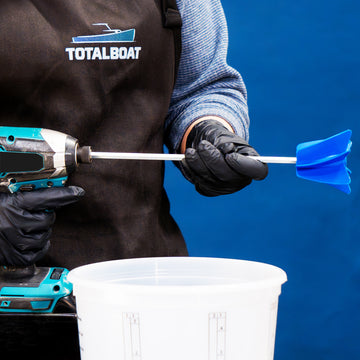
- Use the TotalBoat Helix mixer for more thorough mixing with fewer bubbles.
- To pop bubbles, wave a heat gun back and forth quickly, above the surface.
- Wait 4-6 hours after pouring the first layer before applying the next coating.
- Do the next pour when the previous layer is still in the gel state. You don't have to wait for full cure!
- Wait about three days until the final coat of epoxy is fully cured.
FREQUENTLY BOUGHT TOGETHER
-
-


Halcyon Water-Based Marine Varnish
Regular price $22.99-$134.99Sale price $22.99-$134.99Unit price per -
-


YOU MAY ALSO LIKE
-
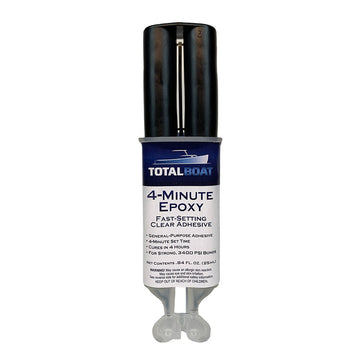
4-Minute Epoxy Fast-Setting Clear Adhesive
Regular price $13.99Sale price Regular price $13.99Unit price per -
-

-
ThickSet Cast + Coat Deep Pour Epoxy Resin Kits
Regular price $44.99-$199.99Sale price $44.99-$199.99Unit price per -
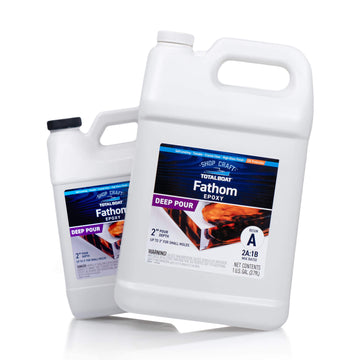
Fathom Deep Pour Epoxy Resin Kits
Regular price $119.99-$449.99Sale price $119.99-$449.99Unit price per


Frequently Asked Questions
-
Is cured epoxy food safe?
Cured TotalBoat Thickset Epoxy is BPA-free, making it safe for incidental food contact.